

Astrophotography has never been more accessible—but that doesn’t mean it’s easy. Between rapidly evolving gear, countless online opinions, and a steep technical learning curve, it’s very common for beginners to feel overwhelmed early on.
At Agena Astro, we work with astrophotographers at every stage from first-time buyers to experienced imagers refining their setups. And over time, we’ve noticed something consistent: most early frustrations trace back to a small set of common mistakes.
The good news? Once you understand them, they’re entirely avoidable.
1. Prioritizing the Telescope Over the Mount
One of the most intuitive—but costly—mistakes is focusing too much on the telescope itself.
After all, the telescope is what collects the light, so it feels like the most important piece of the puzzle. But in astrophotography, your mount is what determines whether that light turns into a sharp image or a blurry mess.
Why the mount matters more
Unlike visual astronomy, astrophotography requires long exposures—often several minutes per frame. During that time, your mount must track the Earth’s rotation with extreme precision. Even tiny errors will show up as:
- Star trailing
- Elongated or “egg-shaped” stars
- Loss of fine detail
A high-end telescope cannot fix poor tracking. In fact, it often makes the problem worse, because better optics reveal tracking errors more clearly.
What we commonly see
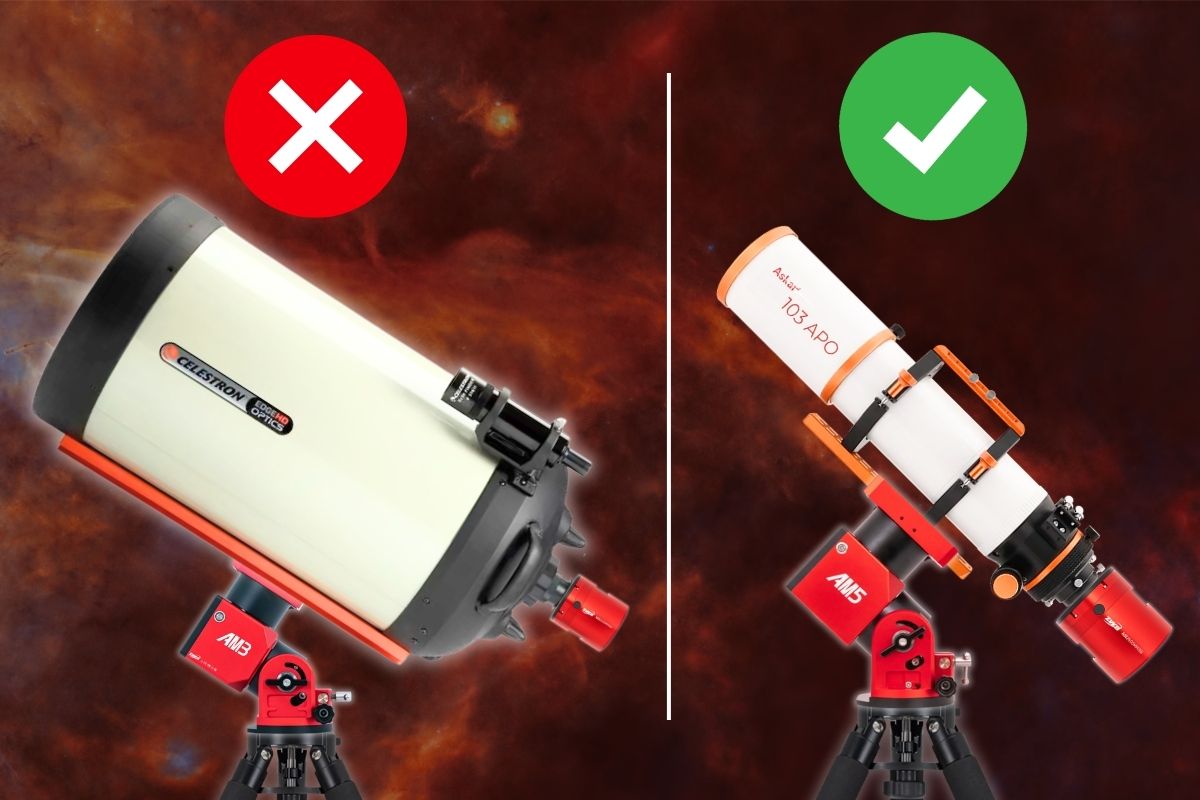
A typical beginner setup might pair a relatively heavy or long focal length telescope with an entry-level mount. On paper, it looks like a powerful system—but in practice, it’s difficult to balance, hard to guide, and frustrating to use.
What to do instead
Think of the mount as the foundation of your entire setup.
- Choose a mount with enough payload capacity (ideally using only ~50–70% of its rated capacity for imaging)
- Prioritize tracking accuracy and stability over aperture
- Build the rest of your system around the mount—not the other way around
A modest telescope on a solid mount will consistently outperform a premium telescope on a weak one. Need help choosing the right gear? This post has you covered:
Beginner Astrophotography Gear: Best Telescopes, Mounts, & Cameras to Start With
2. Starting with Too Much Focal Length Too Soon
It’s easy to be drawn toward long focal length telescopes. They promise detailed, close-up images of galaxies, planetary nebulae, and small deep-sky objects.
But they also make astrophotography significantly harder.
What is focal length—and why it matters
Focal length (measured in millimeters) determines how “zoomed in” your image is:
- Short focal length (e.g., 200–500mm): wide field of view, easier to use
- Long focal length (e.g., 1000mm+): narrow field of view, more detail—but less forgiving
Why long focal lengths are challenging
At longer focal lengths:
- Tracking errors are magnified (a tiny wobble becomes obvious)
- Guiding must be more precise
- Targets are harder to locate and frame
- Your field of view becomes very narrow
This creates a frustrating feedback loop where everything feels harder than it should.
What to do instead
Start wide. A short focal length refractor or even a camera lens can deliver:
- Easier tracking
- Simpler framing
- Faster success with large, bright targets like nebulae and star clusters
Once you’ve built confidence and skills, transitioning to longer focal lengths becomes much more manageable.
3. Ignoring Polar Alignment and Tracking Accuracy
Even with great gear, poor setup can ruin your results.
Polar alignment is the process of aligning your mount’s rotational axis with the Earth’s axis. When done correctly, your mount can follow the motion of the night sky smoothly and accurately.
What happens when alignment is off
If your polar alignment isn’t precise, you may see:
- Star trailing (especially in longer exposures)
- Field rotation (stars appear to rotate slightly across the frame)
- Inconsistent guiding performance
These issues can be subtle at first—but they compound quickly.
What to do instead
Take polar alignment seriously from the beginning.
- Use your mount’s built-in polar scope, or software tools for higher precision
- Re-check alignment if your setup shifts
- Practice until it becomes a quick, repeatable part of your workflow
This is one of the highest-impact skills you can develop early on.
4. Buying Gear Without Understanding Field of View and Image Scale
This is one of the most misunderstood areas in astrophotography—and one of the biggest sources of frustration.
Many beginners buy a telescope and camera separately without fully understanding how they work together. The result is often a setup that technically functions—but is poorly matched to their goals.
What is field of view (FOV)?
Field of view is how much of the sky your setup captures in a single image.
It depends on:
- Your telescope’s focal length
- Your camera’s sensor size
Simple idea:
- Short focal length + large sensor = wide field of view
- Long focal length + small sensor = narrow field of view
If your field of view is too narrow, large objects like the Andromeda Galaxy or Orion Nebula won’t fit in your frame. If it’s too wide, small objects may appear tiny and lack detail.
What is image scale?
Image scale describes how much detail each pixel captures, usually measured in arcseconds per pixel.
It depends on:
- Focal length
- Camera pixel size
Without getting too technical:
- Too large a scale (undersampling): stars look blocky, detail is lost
- Too small a scale (oversampling): you gain little real detail, but increase noise and difficulty
Why this matters
If your system isn’t well-matched:
- Targets may be too large or too small in your frame
- You may struggle to get sharp results
- You could end up fighting your gear instead of enjoying it
What to do instead
Before buying, plan your setup around your goals:
- What targets do you want to image? (large nebulae vs small galaxies)
- What camera sensor size are you using?
- What focal length makes sense for those targets?
A well-matched system feels intuitive. A mismatched one feels frustrating—even if all the individual components are high quality.
Final Thoughts
Astrophotography is a skill that builds over time. The right gear helps—but understanding how everything works together is what really accelerates progress.
If you can:
- Build your setup around a solid mount
- Start with a forgiving focal length
- Master alignment and tracking
- Choose well-matched gear
- And invest time in processing
By following these, you’ll avoid the most common pitfalls and enjoy the journey a lot more.
At Agena Astro, our team is made up of real astronomers and astrophotographers who have learned these lessons firsthand. If you ever need help choosing gear or dialing in your setup, we’re always here to help.
Clear skies.