


What You Need to Start Astrophotography
If you’re reading this, you’ve probably seen an incredible photo of space and thought, “Hey…maybe I could do that too.” That moment of curiosity is where almost every astrophotography journey begins. The next questions usually follow quickly: Where do I start? What gear do I actually need? And how much does it all cost?
You might be tempted to ask these questions in online astronomy forums or social media groups — and while those communities can be helpful, the sheer range of answers can quickly become overwhelming. Advice often comes from people with very different budgets, goals, and experience levels, which can make it hard to know what actually applies to you.
The good news is that astrophotography is far more approachable — and often, more affordable — than it looks online. While it can grow into a deep and technical hobby, there are ways to get started without a huge investment, complicated gear, or a steep learning curve. Many beginners are surprised to learn that capable astrophotography setups can cost far less than they expected.
At Agena Astro, we’ve spent more than 20 years helping beginners navigate these exact questions. We help hundreds of people every week discover the right gear that finds the sweet spot between what works well and budget constraints. In this guide, we'll go over things like:

Essential Astrophotography Components:
- Tracking Mount (plus tripod) - the most important part of any astrophotography setup, the mount determines how accurately your telescope tracks the stars
- Telescope (or Lens) - the optical part of your setup, which determines what types of deep-sky objects you can photograph and how zoomed in they appear
- Imaging Camera - while a mirrorless/DSLR camera can be used, a dedicated astronomy camera will produce cleaner, sharper images
Highly Recommended Astrophotography Accessories:
Not every beginner needs all of the accessories below to get started, but here are a few that we highly recommend:
- Smart Controller (or Laptop) - acts as the "brain" of the rig and controls key things like tracking, exposures, and guiding
- Filter - can fight light pollution and isolate nebulae from the rest of space, greatly improving images
- Autoguider - highly encouraged for deep sky imaging, an autoguider keeps the mount locked on your target
Recommended Beginner Astrophotography Kits by Budget
All-In-One Astrophotography Kit | $ - $$$
Looking to get started in astrophotography without the learning curve? Smart telescopes are an affordable & excellent way to start capturing incredible images of space with no experience required. A smart telescope combines nearly all of the individual components listed above into one compact package.
Thanks to their fully automated setup process, you can just simply connect it to your smartphone or tablet and begin imaging. The only real downside is they won't have quite the same level of image quality as some of our recommended kits below, but for those wanting an easy way into astrophotography without a big budget, the smart telescopes below are your best bet.
Standout product: The ZWO Seestar S30 Pro is our best-selling smart telescope. Like the others in this list, it features automated object location, tracking, image capture, and stacking for improved image quality. What sets it apart is a 4K resolution image sensor, which allows for a larger field of view and higher resolution, plus an inuitive app — all at a very affordable price point.
Starter Astrophotography Kit | $$
Our Starter Astrophotography Kit includes everything you need to get started with deep sky astrophotography in a compact, travel-friendly package. Most importantly, this kit enables fantastic image quality for deep sky imagers at a reasonably affordable price point. The kit is plug and play, meaning just provide power and you're off to the races to capture nebulae, galaxies, and other deep sky objects.
Standout product: The ZWO ASI585MC Air is the shining star of this kit — it combines a powerful cooled imaging camera, an autoguider, and an ASIAIR smart controller. If sold separately, each of these components total over $500 more than the cost of this smart camera. By combining them into one device, it keeps cost considerably lower, improves ease of use with fewer cables, and streamlines setup with fewer components.
Essential Astrophotography Kit | $$$
Our Essential level kit comes as a significant step up from the Starter kit. Unlike a smart telescope, this kit includes a fully modular approach that sets you up for years of growth. By choosing the mount, telescope, camera, and accessories individually, you can choose to swap out any part you choose when you're ready to upgrade. If you see yourself growing with the hobby of deep sky astrophotography, this is the kit we recommend. Each component is rock solid, leaving no questions about the capability of this setup.
Standout product: The Askar 71F refractor is one of the best values in all of astrophotography, as it combines a seamless setup and excellent performance at price point well below similar quality telescopes. For that reason, it's our pick for capturing pro-level images on a beginner-friendly budget.
Premium Astrophotography Kit | $$$$
If budget isn't an issue, this kit comes with all of the bells & whistles to capture stunning, professional-level images of space. Unlike more complicated gear like monochrome cameras, each of these components were hand-picked for our Premium kit because they are fantastic performers while also being seamless to set up and use. Simply attach each piece together, connect to the included ASIAIR app, choose a target like the Orion Nebula or Andromeda Galaxy, and you're off to the races to capturing drool-worthy photographs of deep space.
Standout product: While we could gush over all of these items, the ZWO AM5N is the rock-solid foundation of this kit. Featuring a payload capacity of up to 44 lbs (20 kg), this mount is ready for nearly anything you throw at it, including a much larger and heavier telescope should you choose to upgrade one day.
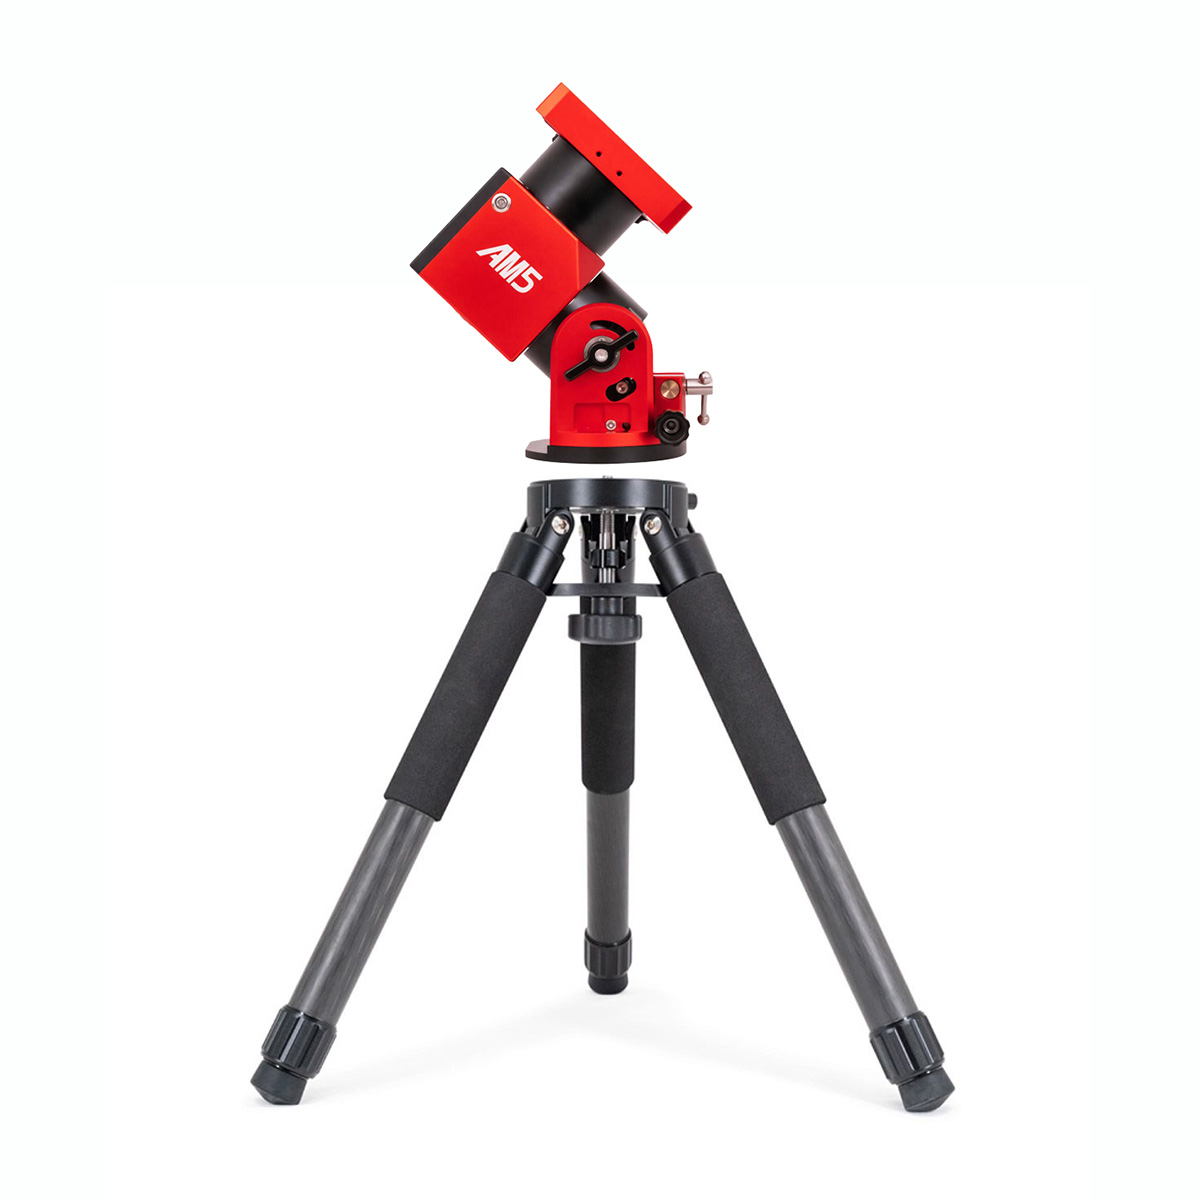
Best Overall: ZWO AM5N
Why it stands out:
The ZWO AM5N is one of the most beginner-friendly and versatile astrophotography mounts available today. Its strain-wave (harmonic drive) design delivers excellent tracking accuracy in a compact, lightweight form—without the counterweights and complexity of traditional equatorial mounts.
For beginners, the AM5N removes many of the common setup frustrations. It pairs seamlessly with modern smart controllers, sets up quickly, and provides tracking performance that easily supports long exposures for deep-sky astrophotography. While the upfront cost is higher than entry-level mounts, it’s the kind of mount most imagers won’t outgrow for a very long time—if ever—making it a strong long-term investment as your imaging skills and equipment evolve.
"The AM5 is an incredible system. The mount is smooth, quiet, easy to control, and tracks extremely well. Perfectly designed for travel, while still able to use heavier loads. Don't sleep on this mount!"
— Christopher C, verified review
Best for:
Deep-sky imagers of all skill levels who want a powerful, portable mount that’s easy to use, highly accurate, and future-proof.
What we like:
- Very easy to set up and use, even for first-time astrophotographers
- Large payload capacity up to 44 lbs (20 kg) with a counterweight
- Tracks accurately without counterweights for most beginner setups
- Lightweight and portable for backyard or travel imaging
- A mount you can grow into as your skills and equipment advance
What we don’t like:
- Higher upfront cost than traditional entry-level equatorial mounts
- Overkill for ultra-light camera-only tracking setups
| Shop ZWO AM5N |
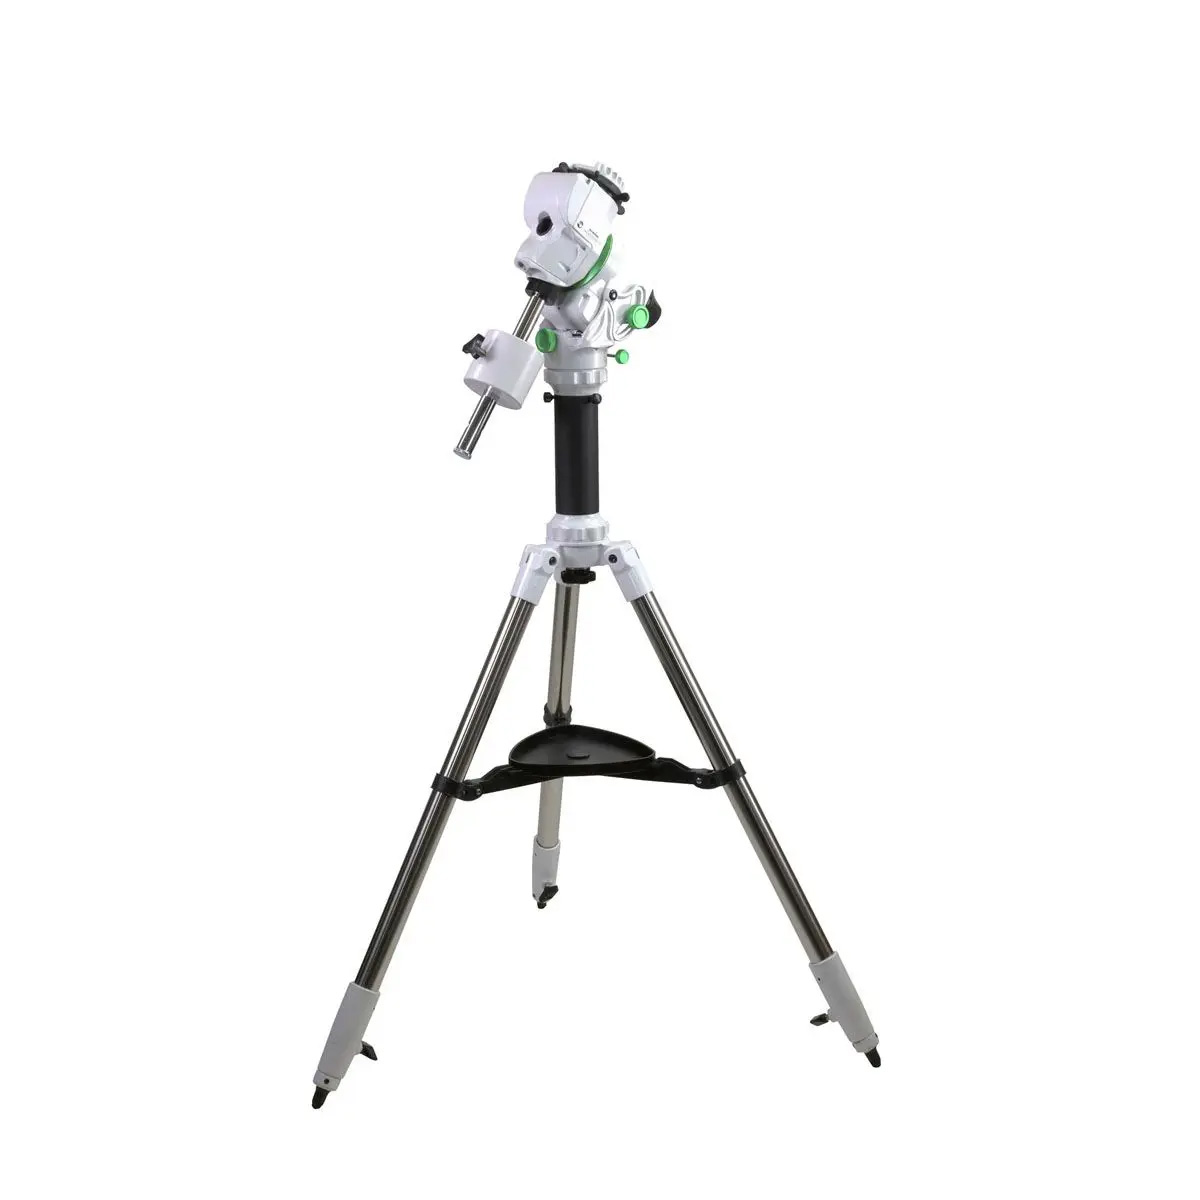
Best Value: Sky-Watcher Star Adventurer GTi
Why it stands out:
The Sky-Watcher Star Adventurer GTi offers true equatorial tracking in a compact, affordable package, making it one of the best entry points into deep-sky astrophotography. Unlike basic camera trackers, the GTi provides full GoTo capability, autoguiding, and accurate tracking for longer exposures, while remaining lightweight and easy to transport.
For beginners, the GTi strikes an excellent balance between capability and simplicity. It supports small telescopes, camera lenses, and lightweight imaging rigs, delivering reliable performance without the cost or bulk of larger equatorial mounts. It’s an ideal first “serious” mount for learning the fundamentals of astrophotography.
"Great little mount. Very portable. I was looking for a light weight travel go-to mount. Performs very well with 5 minute exposures unguided—excellent little mount."
— Sam S, verified review
Best for:
Beginners who want an affordable, portable equatorial mount for camera lenses or small refractor telescopes.
What we like:
- Excellent value for a true GoTo equatorial mount
- 11 lb (5 kg) payload capacity for camera lenses and small telescopes
- Compact and lightweight for easy travel
- Accurate tracking for beginner deep-sky imaging
- Great stepping stone from camera trackers to full-size mounts
What we don’t like:
- Limited payload capacity compared to larger mounts
- Not ideal for heavier telescopes or future high-end imaging rigs
| Shop Sky-Watcher Star Adventurer GTi |
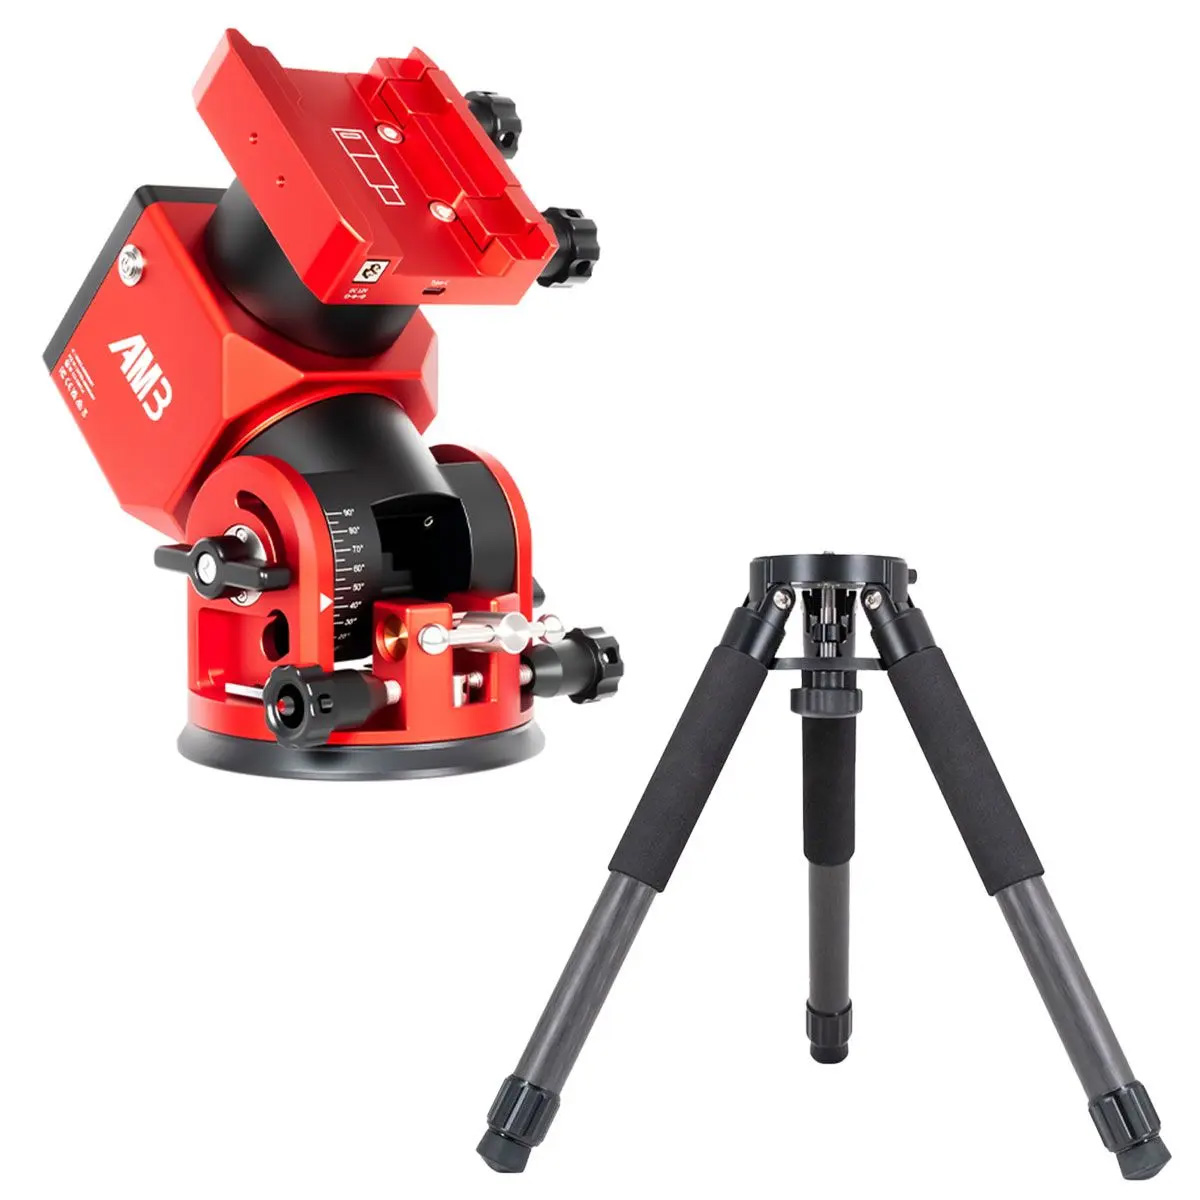
Most Versatile: ZWO AM3N
Why it stands out:
The ZWO AM3N offers an excellent balance of portability, performance, and affordability, making it one of the most versatile mounts for beginner astrophotographers. Like its larger sibling, the AM5N, it uses a strain-wave (harmonic drive) design to deliver accurate tracking in a compact, lightweight package—without the need for counterweights in most setups.
For beginners, the AM3N works equally well with camera lenses, small refractor telescopes, and modern smart controllers at a reasonable price point. It’s easy to set up, quick to transport, and powerful enough to support a wide range of beginner and intermediate imaging rigs. Whether imaging from the backyard or traveling to dark skies, the AM3N adapts easily to different astrophotography styles.
"This is my first entry into a rig for astrophotography. Paired with the ZWO ASI585MC Air - everything works together seamlessly, tracks well and centers the target every time."
— Dean D, verified review
Best for:
Beginners who want a lightweight, portable mount that can support many different imaging setups without committing to a large or heavy system.
What we like:
- Highly portable and easy to set up
- Up to 28.5 lb (13 kg) payload capacity at just 8.5 lb (3.9 kg)
- Accurate tracking for small to medium imaging rigs
- Harmonic drive design enables counterweight-free setups
- Flexible mount for many astrophotography styles
What we don’t like:
- Lower payload capacity than the AM5N
- Not suitable for larger or heavier telescope setups
| Shop ZWO AM3N |
Understanding Mounts for Astrophotography
We want to take the time to answer a few of the most common questions beginner imagers ask when shopping for a mount. Many beginners might believe that a telescope or camera is the most important part of any astrophotography setup. While these have larger impacts on the image quality you'll produce, the most important part of any astrophotography setup is actually the telescope mount. Let's dive into a few common questions we get about telescope mounts:
What is a tracking mount and why do I need one?
A tracking mount is a motorized telescope mount that follows the motion of the night sky as the Earth rotates. Without tracking, stars appear to drift across the frame, limiting exposures to just a few seconds before stars blur.
For astrophotography, a tracking mount is essential because it counteracts the Earth’s rotation (called sidereal motion), allowing the camera to stay precisely aligned with your target. This makes long exposures possible, which are required to capture faint deep-sky objects such as nebulae, galaxies, and star clusters.
Why is the mount the most important part of an astrophotography setup?
The telescope mount is the most important part of an astrophotography setup because it determines how accurately your equipment can track the sky. Even the best telescope or camera cannot produce sharp images if the mount cannot track smoothly and consistently.
A quality equatorial tracking mount allows for long, stable exposures—often several minutes or more—without star trailing. This is true even for beginners using a DSLR or mirrorless camera and a small lens. In practice, upgrading the mount has a far greater impact on image quality than upgrading the telescope or camera.
What is payload capacity and why is it important?
Payload capacity refers to the maximum amount of weight a telescope mount can carry while still tracking accurately. This includes the telescope, camera, mounting hardware, filters, guiding equipment, and any accessories attached to the mount.
For astrophotography, it’s important to stay well below a mount’s rated payload capacity. Operating a mount near its maximum limit can reduce tracking accuracy and image quality. As a general rule, beginners should aim to use no more than 50–70% of the mount’s stated payload capacity for best performance.
Modern designs such as harmonic drive mounts offer high payload capacity while remaining compact and lightweight, making them especially popular for portable astrophotography setups.
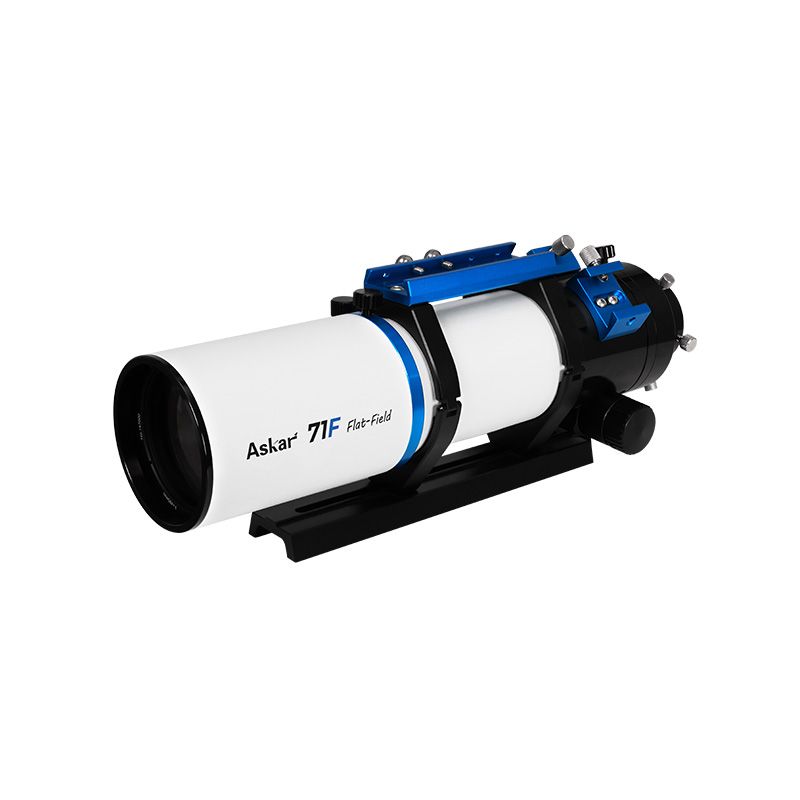
Best Overall: Askar 71F
Why it stands out:
The Askar 71F is one of the easiest telescopes for beginners to grow with. Its quadruplet design includes a built-in field flattener, so there’s no need to worry about spacing, backfocus, or extra accessories to achieve sharp stars across the entire image.
It produces clean, crisp stars, works well with APS-C and full-frame sensors, and is light enough for affordable mounts and travel setups. It’s an excellent “first real astrograph” thanks to its simplicity, predictability, and fast learning curve.
"This was my 4th refractor. I wish it were my first. This is the best value in Astro. Flat field, perfect stars, lightweight, great build quality, excellent focuser. This scope is just awesome."
— Bret, verified review
Best for:
Deep-sky imagers of all skill levels who want a rock-solid, beginner-friendly imaging scope.
What we like:
- Built-in flat field (no accessories required)
- Lightweight and easy to pair with small mounts
- Very good optical correction for the price
- Excellent starter astrograph for serious beginners
- Optional 0.75x reducer available (sold separately) for faster imaging
What we don’t like:
- Not ideal for small galaxies or high-resolution targets due to its short focal length
| Shop Askar 71F |
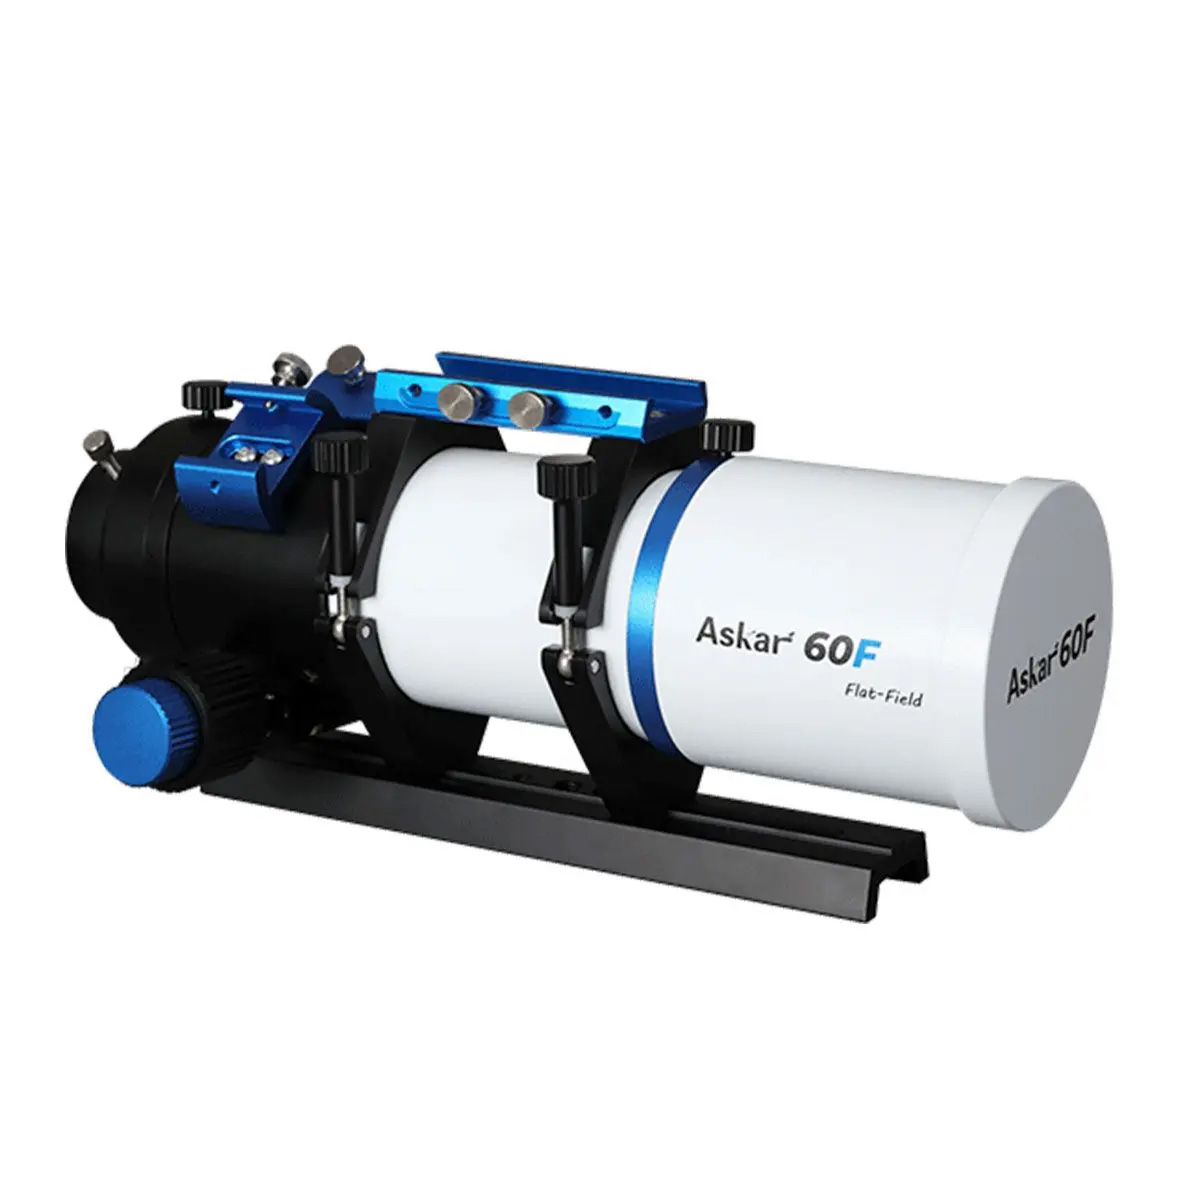
Best Value: Askar 60F
Why it stands out:
The Askar 60F is one of the most accessible entry points into serious deep-sky astrophotography. Its compact quadruplet design includes a built-in field flattener, eliminating the need for spacing calculations, backfocus tuning, or additional accessories—making it especially friendly for beginners.
Designed with portability in mind, the 60F is extremely lightweight and easy to pair with small, affordable mounts. Despite its size, it delivers sharp, well-corrected stars across modern APS-C sensors and produces reliable results with minimal setup. It’s an ideal choice for learning the fundamentals without a steep investment or complex workflow.
“Was looking for a light imaging telescope for travel, and this filled that role perfectly. Produces nice round stars all the way to the edges. It's light enough for a light-duty mount, and no flattener required.”
— Brian B, verified review
Best for:
Beginners who want an affordable, ultra-portable imaging scope that’s easy to use and delivers consistent results right out of the box.
What we like:
- Built-in flat field for simple, frustration-free setup
- Extremely lightweight and travel-friendly
- Excellent optical performance for its class
- Pairs easily with small mounts and camera trackers
- Optional 0.75x reducer available (sold separately) for faster imaging
What we don’t like:
- Limited reach for small galaxies or high-magnification targets
| Shop Askar 60F |
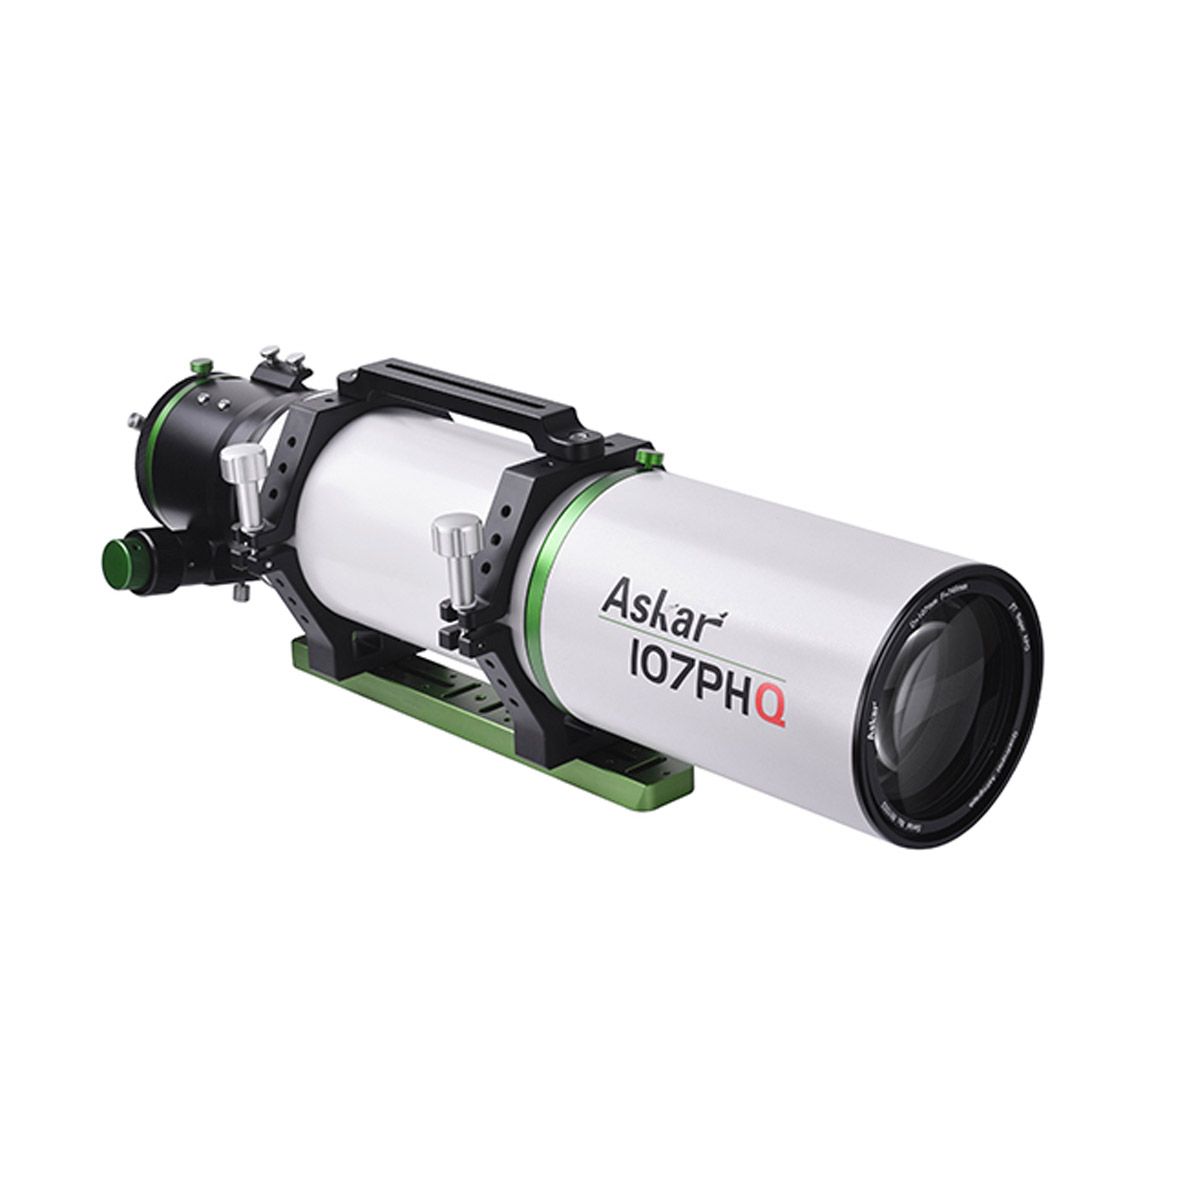
Most Versatile Askar 107PHQ
Why it stands out:
The Askar 107PHQ is a beginner-friendly premium astrograph that removes much of the early imaging frustration. Its built-in field flattener means no spacing or extra accessories are required to achieve sharp stars across the frame. Setup is simple, results are consistent, and it works well with modern APS-C and full-frame cameras—leaving plenty of room to grow.
"I was hoping that this telescope would live up to the flat field and ease of use that the description promises - I was not disappointed!"
— Derek M, verified review
Best for:
Beginners who want a high-quality imaging scope they won’t outgrow quickly.
What we like:
- Built-in flat field for easy setup
- Sharp stars across full-frame sensors
- Excellent balance of detail and field of view
- ~750mm focal length suits a wide variety of targets
- Optional 0.7x reducer available (sold separately) for faster imaging
What we don’t like:
- Slower native f/7 focal ratio
| Shop Askar 107PHQ |
Understanding Telescopes for Astrophotography
Once beginners understand the importance of a solid tracking mount, the next big question is usually about telescopes. It’s easy to assume that a larger or more powerful telescope will automatically produce better images, but in astrophotography, that isn’t always the case.
The right astrophotography telescope is less about size and more about matching focal length, speed, and optical design to your goals and experience level. Below are some of the most common telescope questions we hear from beginners.
Do I need a telescope to start astrophotography?
No—many beginners start astrophotography using a DSLR or mirrorless camera with a standard camera lens. Wide-field lenses are excellent for capturing large objects like the Milky Way, nebulae, and star fields, especially when paired with a tracking mount.
That said, a telescope opens the door to higher-quality optics, better star sharpness, and more consistent results. As your interest grows, a telescope becomes the natural next step for capturing deeper and more detailed images of the night sky.
What type of telescope is best for beginner astrophotography?
For most beginners, small refractor telescopes are the best place to start. Refractors are simple to use, require very little maintenance, and produce sharp, high-contrast images with minimal setup.
Short focal length refractors (typically 250–500mm) are especially beginner-friendly because they offer a wide field of view and are more forgiving of tracking errors. This makes it easier to achieve sharp stars and successful images early on.
Why does focal length matter in astrophotography?
Focal length determines how wide or narrow your field of view will be. Shorter focal lengths capture wide areas of the sky and are ideal for large nebulae and star fields, while longer focal lengths are better suited for smaller objects like galaxies and planetary nebulae.
Beginners are generally better served by shorter focal lengths, as they place fewer demands on tracking accuracy and make framing targets easier. Longer focal length telescopes require more precise mounts, guiding, and experience to use effectively.
What does telescope “speed” mean, and why is it important?
Telescope speed refers to the focal ratio (f/number) of the telescope. A lower f/number (such as f/4 or f/5) means the telescope is “faster” and can collect light more quickly, reducing the total exposure time needed for an image.
Faster telescopes are generally preferred for astrophotography because they allow beginners to capture strong signal in less time, making the learning process smoother and more rewarding.
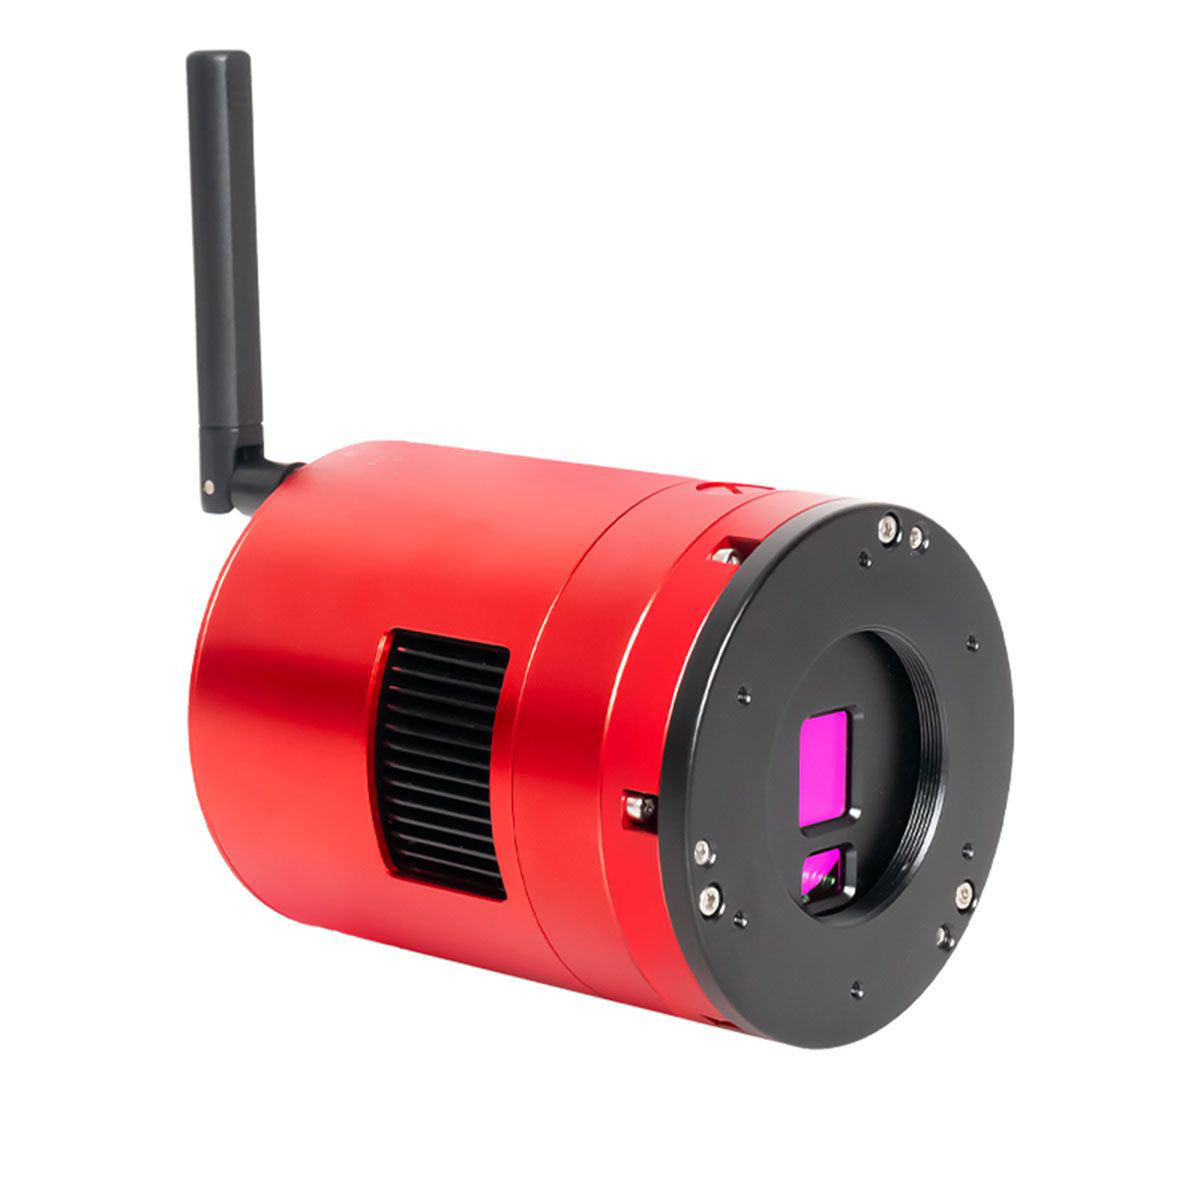
Best Overall: ZWO ASI585MC Air
Why it stands out:
The ZWO ASI585MC Air is one of the simplest and most beginner-friendly ways to start deep-sky astrophotography. By combining a sensitive color imaging camera, built-in computer, autoguiding sensor, and wireless control into a single compact unit, it removes much of the complexity that typically slows beginners down.
With no laptop required and minimal cabling, the ASI585MC Air allows new imagers to focus on learning the sky and capturing images instead of troubleshooting software and connections. Its modern Sony sensor delivers low noise, strong sensitivity, and excellent results on nebulae, star clusters, and wide-field targets.
"New to this kind of astrophotography and this camera did not disappoint."
— Ray C, verified review
Best for:
Beginners who want an affordable, all-in-one astrophotography camera that minimizes setup time and learning curve.
What we like:
- All-in-one design with built-in controller, autoguider, and wireless connectivity
- No laptop required for imaging sessions
- Excellent low-noise performance for deep-sky imaging
- Simple integration with ZWO mounts and accessories
- Compact and lightweight for portable setups
What we don’t like:
- Smaller sensor size somewhat limits the field of view
| Shop ZWO ASI585MC Air |
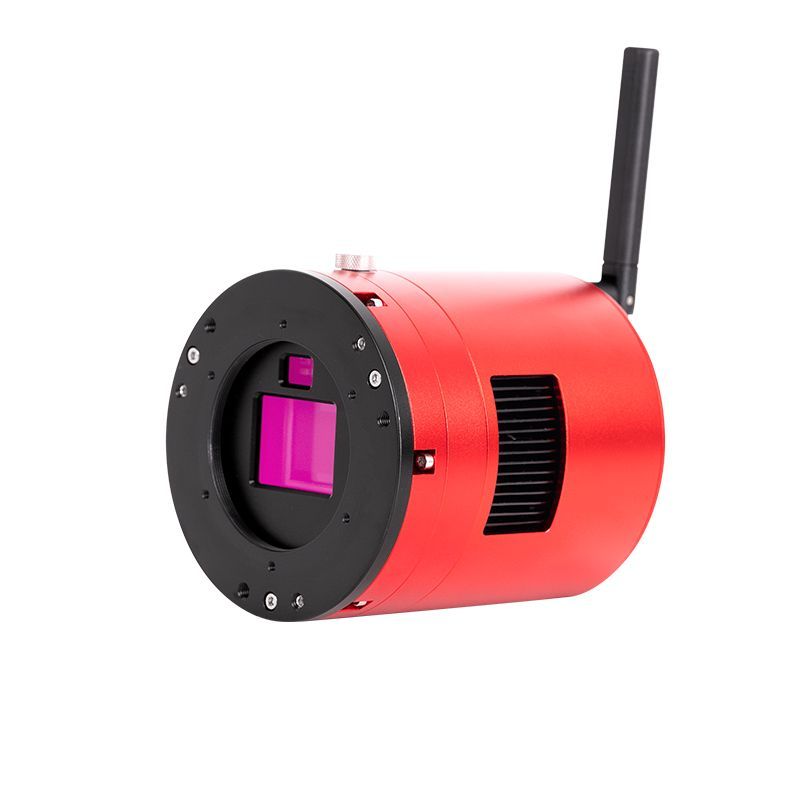
Most Versatile: ZWO ASI2600MC Air
Why it stands out:
The ZWO ASI2600MC Air takes the simplicity of an all-in-one astrophotography system and pairs it with a much larger, higher-performance imaging sensor. It combines a proven APS-C color camera, built-in computer, autoguiding support, and wireless control into a single, streamlined unit—eliminating the need for a laptop, external controller, or complex cabling.
For beginners who want room to grow, the ASI2600MC Air offers a major step up in image quality while keeping setup and operation approachable. Its larger sensor captures wider fields of view, delivers excellent dynamic range, and performs exceptionally well on nebulae, galaxies, and star clusters.
"This camera has performed better than I ever imagined. I’ve been extremely impressed. I went from a DSLR setup to a complete astrophotography rig, and I didn’t want to buy each component individually. This all-in-one solution turned out to be perfect—fewer wires, less confusion, and still a rock-solid product."
— Frank B, verified review
Best for:
Beginners and intermediate imagers who want a powerful, long-term astrophotography camera without the complexity of a fully modular setup.
What we like:
- Large APS-C sensor with excellent sensitivity and dynamic range
- All-in-one design with built-in controller and wireless operation
- No laptop or external control computer required
- Clean, low-noise performance for deep-sky imaging
- Ideal balance of simplicity and high-end image quality
What we don’t like:
- Higher cost than smaller all-in-one camera options
| Shop ZWO ASI2600MC Air |
Understanding Cameras for Astrophotography
After choosing a mount and telescope, the next major piece of an astrophotography setup is the camera. Many beginners assume any camera will work the same way, but astrophotography cameras are designed very differently from standard daytime cameras.
The right astrophotography camera depends on factors like sensor size, sensitivity, cooling, and how well it integrates with your overall setup. Below are some of the most common camera questions we hear from beginners.
Can I use a DSLR or mirrorless camera for astrophotography?
Yes—many beginners start astrophotography using a DSLR or mirrorless camera, especially if they already own one. These cameras are capable of capturing impressive wide-field images of the night sky when paired with a tracking mount.
However, dedicated astrophotography cameras are designed specifically for low-light imaging. They offer better sensitivity to faint objects, lower noise, and more consistent performance for long exposures, making them a popular upgrade as interest grows.
What makes an astrophotography camera different from a regular camera?
Astrophotography cameras are optimized for long-exposure imaging of faint objects. Unlike most consumer cameras, they often feature active cooling to reduce sensor noise, higher sensitivity to hydrogen-alpha light, and direct computer control for automated imaging sessions.
These features allow astrophotography cameras to capture cleaner data over longer exposures, which translates to better detail and easier image processing.
Does sensor size matter for astrophotography?
Sensor size affects both field of view and how much of the sky your camera can capture at once. Smaller sensors produce a narrower field of view, while larger sensors capture wider areas and are better suited for large nebulae and wide-field targets.
For beginners, both small and medium-sized sensors can work very well. Smaller sensors are often more affordable and forgiving, while larger sensors offer more flexibility as your setup and experience grow.
Do I need a cooled camera to start astrophotography?
Cooling is not strictly required to begin astrophotography, but it can significantly improve image quality. Cooled cameras reduce sensor noise during long exposures, especially on warm nights or during extended imaging sessions.
Many beginners start successfully with uncooled cameras and later upgrade to cooled models as they become more comfortable with the process. Cooling is best thought of as a quality-of-life improvement rather than a requirement.
Final Thoughts
Astrophotography doesn’t have a single “right” setup—what matters most is choosing gear that fits your goals, your budget, and how much complexity you want to take on at the start. Whether you’re drawn to a simple all-in-one system or a more traditional setup you can grow into over time, the key is getting started with equipment that makes learning rewarding instead of frustrating. Our team at Agena Astro has helped thousands of beginners take those first steps, and every recommendation in this guide reflects what we’ve seen work in the real world. When you’re ready to begin—or take the next step—we’re here to help you build a setup you’ll enjoy using under the night sky.