
A Review of the ZWO ASIAIR-Plus Controller

1. Overview
Since the release of the original version in 2018, the ZWO ASIAIR has been widely adopted by astrophotographers. This little device, which is based on the Raspberry Pi platform, makes it relatively easy for imagers to control a ZWO astronomy camera, telescope mount, focuser, and other accessories with a tablet or smartphone. With its free and continuously evolving ASIAIR app, ZWO included nearly all the functionality needed for control, autoguiding, live stacking, and power delivery with the ASIAIR.
The second generation of the controller released in 2020, the ASIAIR-PRO (Figure 1), has proven especially popular with astro-imagers. ZWO has now released the third generation of the ASIAIR controller, the ASIAIR-Plus. This new controller addresses some of the shortcomings of the ASIAIR-PRO, especially the limited WiFi range, and offers a few new features. It also enables some promising new capabilities for its control software including a new mode that allows the planning and capture of multiple targets during an imaging session.
I was recently presented with the opportunity to compare the second generation ZWO ASIAIR-PRO (the ‘Pro’ here for short) with the third generation ASIAIR-Plus (the ‘Plus’), and was pleasantly surprised with the improvements. I outline these improvements in this review.

2. Form Factor and Appearance
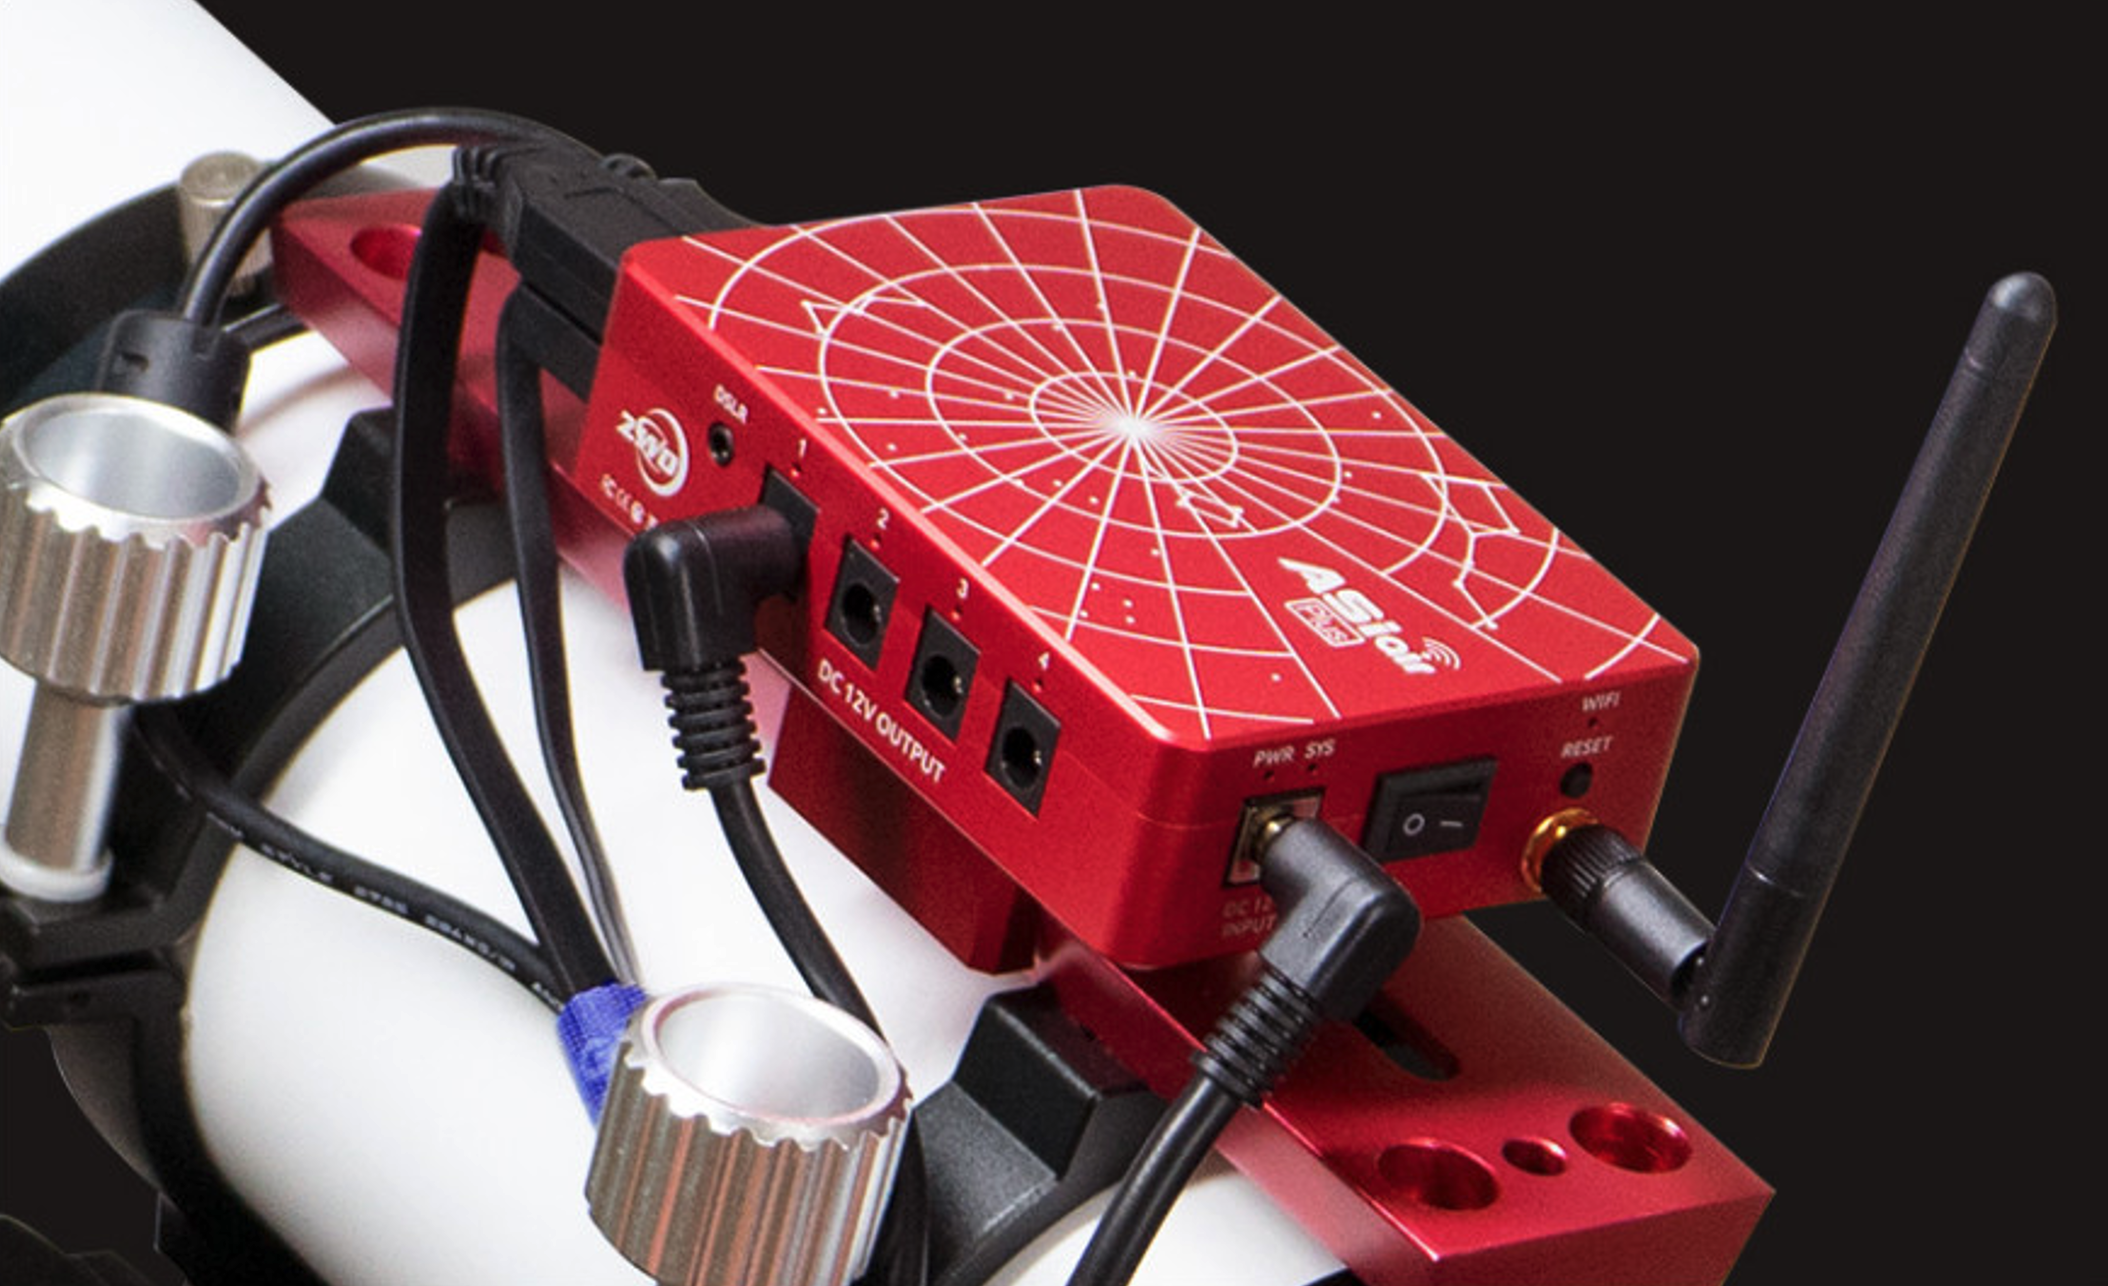
Out of the box, the Plus has a slightly different form factor than the PRO with dimensions of 100mm x 70mm x 26.5mm compared to the PRO’s dimensions of 92mm x 67mm x 35mm. It retains the attractive red anodized aluminum housing with etched illustration of the northern circumpolar constellations. The Plus also sports an external WiFi antenna for supporting both 2.5GHz and 5GHz data speeds. The familiar gigabit Ethernet port is still available for direct data connections as are power ports and a DSLR control port.
ZWO claims an overall weight reduction of 13%, but I show an overall reduction of just 5 grams over the PRO’s weight of 245g, although I did not include the external memory stick on the PRO. Removing the antenna from the Plus, which makes sense only when running over Ethernet, saves another 10g. But overall, the Plus is certainly a lightweight and manageable device.

There was no supplied USB stick for the ASIAIR-Plus since it includes a 32GB embedded Multi-Media Card (eMMC). ZWO states that 20GB of the card’s capacity is usable for image and video data storage.
On one side of the ASIAIR-Plus are two ports, one marked TF (TransFlash) for inserting your own microSD card and a new slot marked PC for a direct wired USB-C connection to a computer. Surprisingly, since ZWO is usually generous about providing cables, there was no USB-C cable provided with the device. For the purpose of this review, I ordered a USB-C to USB-A cable made by Anker for transferring data to a PC.
3. WiFi Performance – A Quantitative Test
The most anticipated and requested addition to the ASIAIR-Plus is a stronger and more reliable WiFi signal compared to extremely limited range of the ASIAIR-PRO. My field tests revealed a huge increase in signal strength over the PRO. In these tests, I only employed the 2.5GHz WiFi channel which has the maximum range.
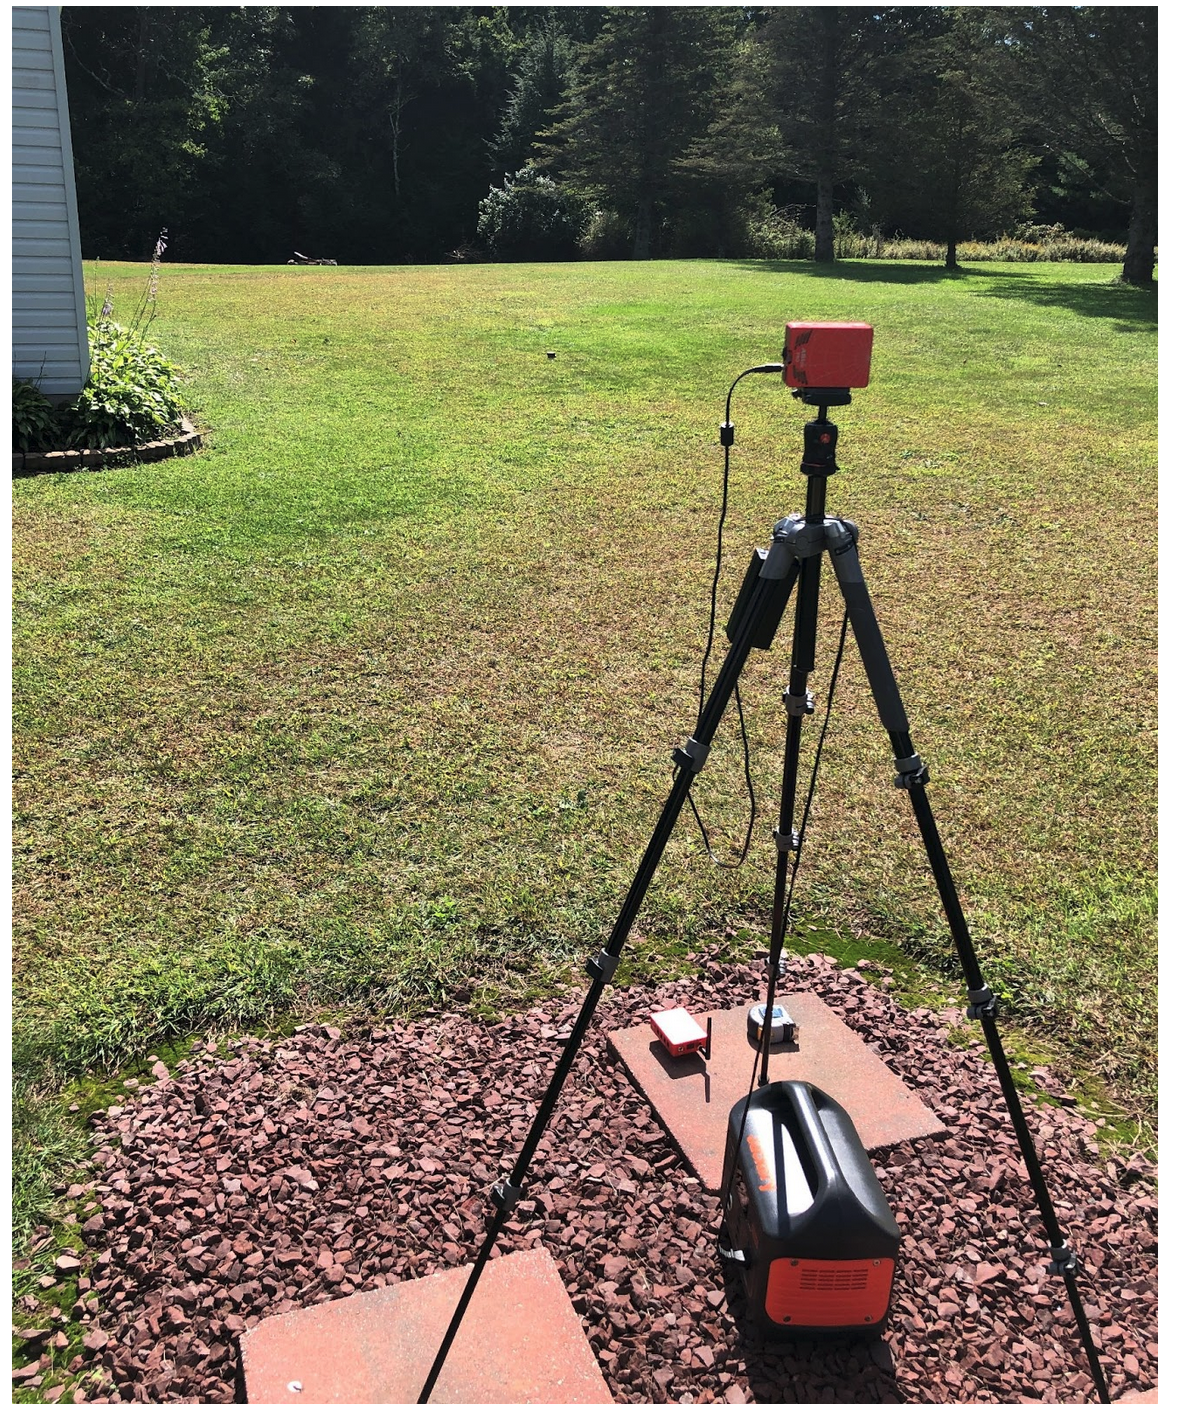
I made initial measurements of WiFi range outdoors with an unobstructed view with a straight line-of-sight to each device. Using my iPhone X to communicate with the Plus and the PRO separately, I moved away from each device and recorded the approximate distance in feet at which a connection could not be established between with the iPhone running the ASIAir Application Version 1.7(8.48). The results:
- ASIAIR-PRO 35 Feet
- ASIAIR-Plus 200 Feet (471% increase)
I next measured WiFi range through a single obstructed wall, in this case my observatory shed wall. Both the PRO and Plus were attached to the telescope and the roof of the shed was open to simulate telescope use. The results:
- ASIAIR-PRO 18 Feet
- ASIAIR-Plus 115 Feet (538% increase)
Needless to say, the WiFi signal strength of the ASIAIR-Plus is far superior to the previous version. Still, the ASIAIR-Plus WiFi range has its limits. In my case, ideally, the unit would have to work through THREE obstructed walls to a range of about 75 feet to reach my easy chair and coal stove for winter operations. Neither unit was able to cross that divide. But for typical field use, you should have no issues connecting to the ASIAIR-Plus.
4. Data Transfer Rates
ZWO claims a data transfer rate for the Plus up to 2.5x faster than the PRO, though it’s unclear under what conditions this applies. To see what the ASIAIR-Plus could do, I tested data transfer under several circumstances.
On small files, like generating darks and flats there was an average of 5% faster transfer rates with the Plus writing directly to its eMMC compared to the Pro writing directly to its standard external USB stick. In each case, I saved 10x10s flat frames. The Pro ran and saved the frames in 131 seconds while the Plus saved the frames in 124 seconds.
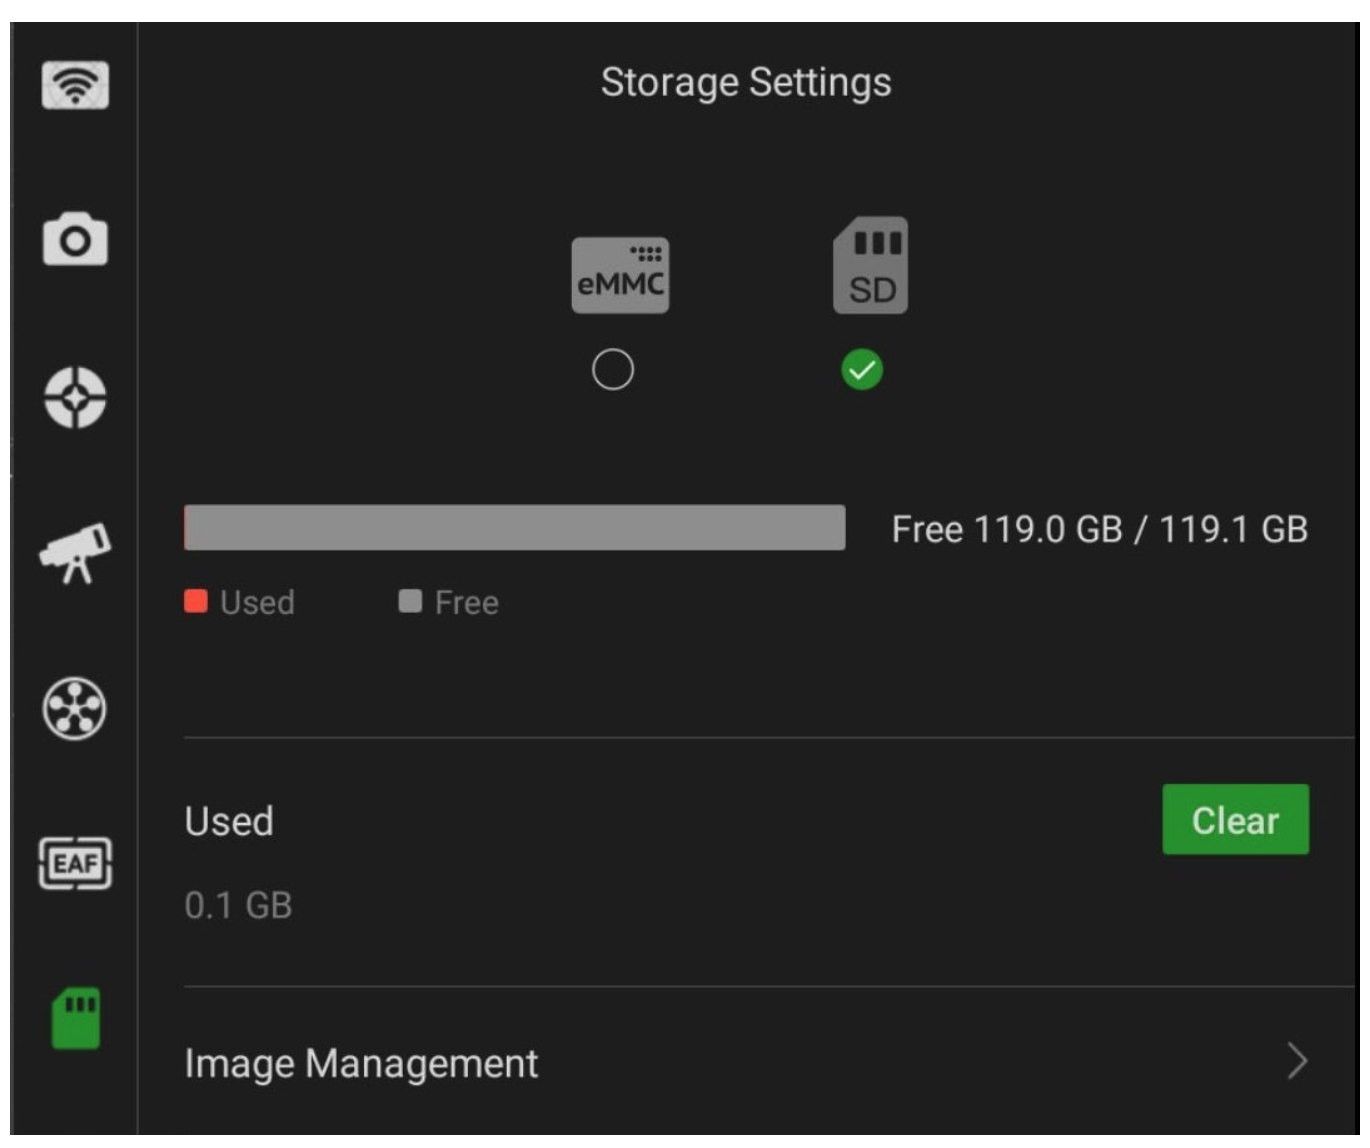
As another test, I used a large 1.15GB AVI video file to test the transfer rates from the ASIAIR-Plus. In the first test, I used the ASIAIR app on the iPhone to transfer the file from the internal eMMC to an external SanDisk Extreme 128GB SD card (rated at 160MB/s and not supplied with the Plus) inserted into the TransFlash port of the Plus. The file transfer took 80 seconds. At that rate, transferring larger or multiple video/image files from the eMMC to the SD card could take a significant amount of time. As a side note, I was unable to transfer files from the SD card to the eMMC on the Plus. For the second test, I transferred the same 1.15GB AVI file from the internal eMMC card to a PC through the USB-C port on the ASIAIR-Plus. This took just 27 seconds, a nearly 3x increase in speed over the eMMC-to-microSD transfer.
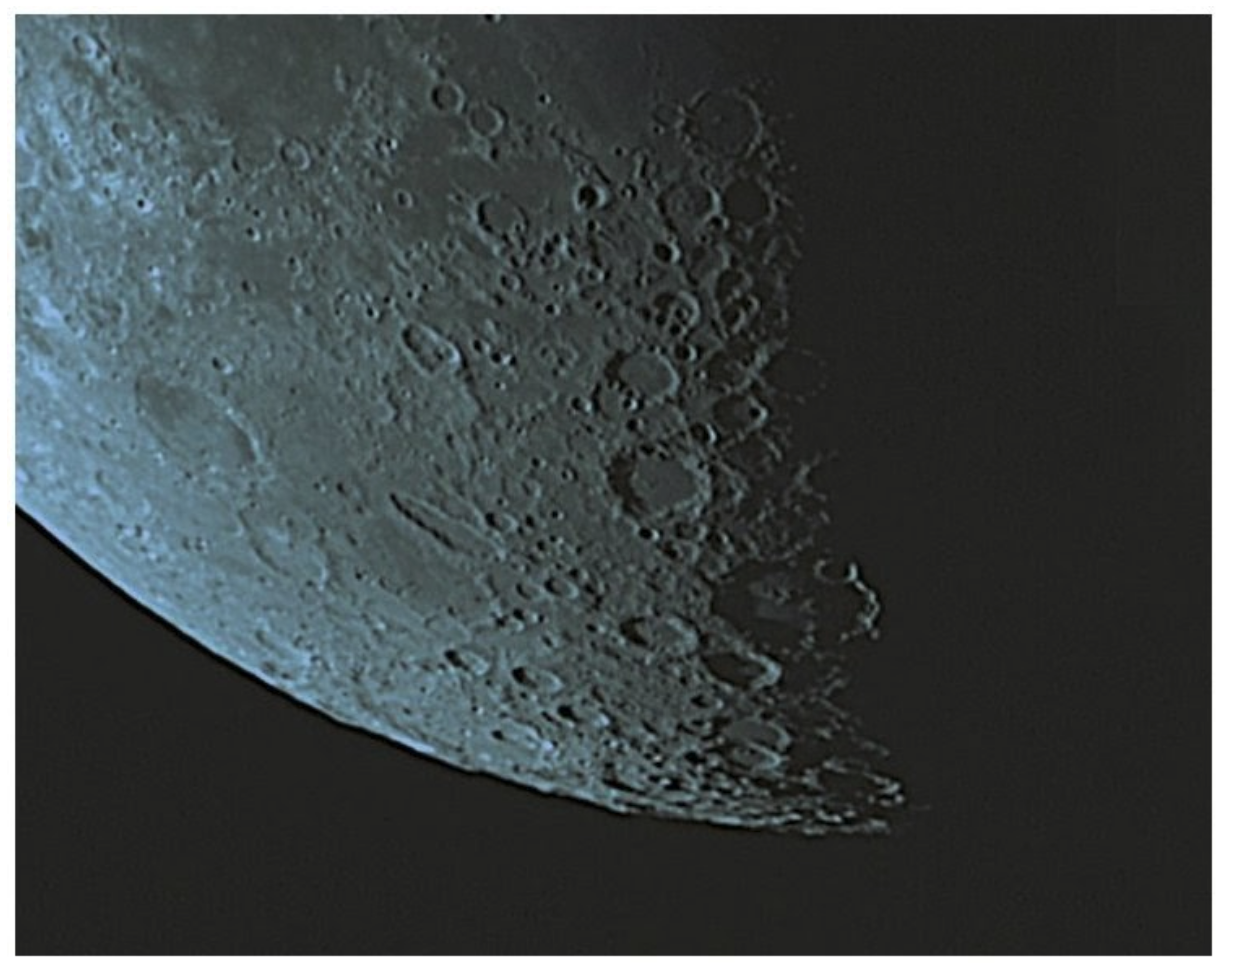
Recent versions of the ASIAIR app and firmware for the ASIAIR-PRO and Plus also allow for video capture in addition to still image capture, a promising development for solar system imagers who wish to leave a PC behind for field use. For many solar system applications, a fast rate of frame capture is essential. This frame rate is governed in part by camera specifications and settings, but it can be limited by the data transfer rate to the storage device. I tested the resulting rate of frame capture in three scenarios: the ASIAIR-Plus writing to the eMMC, the Plus writing to the external micro-USB, and the ASIAIR-PRO writing to its standard (included) USB stick. I used a Sky Watcher Esprit 120ED, Celestron CGEM-DX on a pier mount, ZWO ASI071MC-Pro camera with APS-C sensor, and my Apple iPhone X to run the app. Various objects were imaged in video mode including Jupiter, Saturn, the Sun and a daytime Moon.
Table 1 shows the resulting frame rates and the clear increase in achievable rates with the ASIAIR-Plus compared to the ASIAIR-PRO. The fastest results were obtained when writing video files directly written to the AAPlus eMMC. It should be noted that these video files can get big in a hurry and it will not take long to use up that 20GB available space on the eMMC.
| Frame Size | 1920x1080 | 1280x960 | 1280x720 | 640x480 | 480x360 |
|---|---|---|---|---|---|
| AA-Plus (eMMC) | 12.66 fps | 22.90 fps | 29.28 fps | 65.30 fps | 88.32 fps |
| AA-Plus (micro-USB) | 11.87 fps | 18.85 fps | 23.63 fps | 51.00 fps | 70.39 fps |
| AA-Pro (USB) | 4.79 fps | 5.76 fps | 9.73 fps | 48.31 fps | 59.42 fps |
| % Increase Pro to Plus | 164% | 297% | 200% | 35% | 48% |
Display of captured video on my iPhone X was smooth and clear using the ASIAIR-Plus through a WiFi connection but somewhat “choppy” when connected to the PRO. Again, this demonstrates a large improvement in the WiFi signal capabilities of the Plus.
ZWO might consider adding a few things that would help out in the video capture section of the application including:
- Ability to capture a video image for a set number of seconds.
- Ability to capture a video image for a set number of frames.
- Sample images from video capture mode on the Plus and saving to the eMMC.
5. ASIAIR Application Updates
Aside from the clear improvement in performance of the ASIAIR-Plus compared to the ASIAIR-PRO, many users may be interested in improvements in the ASIAIR application that controls each device through a tablet or smartphone. These improvements include a new ‘planning mode’ that enables imaging multiple targets throughout a night and a new multi-star autoguiding capability. Note that both of these updates to the ASIAIR app can be used with both the ASIAIR-Plus and the ASIAIR-PRO provided the app and firmware are upgraded to version 1.7(8.48) or higher. A new feature exclusive to the ASIAIR-Plus is the capability for real-time power monitoring of the device power ports.
Planning Mode
If you are not an equipment baby-sitter (like I am), the new Planning Mode in the ASI application is perfect for you. Planning Mode is accessed from the main screen on the right side as an option along with Preview, PA (Polar Alignment), Autorun, Focus, and so forth. Selecting Planning allows you to set up a completely automated run. You can select multiple targets, set a starting and ending time, auto meridian flip, and choose end options including turning off the camera cooler and sending the telescope back to the HOME position. Each plan can be named and you may have multiple plans available. It’s great for setting up a future observation session in advance. Interrupted plans may also be picked up where you left off.

Multi-Star Autoguiding
The idea behind multi-star guiding is to select several comparable stars and calculate a weighted average centroid position instead of using the centroid of a single star. This offers a more robust guiding experience with the ability to continue guiding even with the loss of a guide star.
As with all guiding, results will vary depending on equipment used and seeing conditions. In my case, I have been getting qualitatively better results using multi-star guiding on telescopes ranging from a Williams Optics Redcat (focal length 250mm) to a Meade 12” LX-90 (focal length 1920mm using a 0.63x focal reducer).

Real-Time Power Monitoring
The latest application update also includes a new screen to monitor voltage, power consumption and CPU temperature. It only works on the new ASIAIR-Plus, not the older PRO. Tapping on the Power Output Settings allows you to view the status of the four DC ports. It is on this screen, for example, that you can adjust power settings to your dew heater strips. You also see the CPU temperature of the Plus, status of the WiFi connection, total input current and voltage, and the total power status of the device.

6. Final Words
In my original review of the ASIAIR-PRO, I said that “I can only see the ASIAIR app growing and adding additional routines and functionality as it continues to be developed” - ZWO did not disappoint me with the added features in their third generation ASIAIR-Plus or the added features in the most recent app and firmware updates.
It is worth the upgrade from the PRO to Plus? It really depends on your situation. For me, the added benefit of being able to use the Plus for planetary and lunar imaging is a big plus as I no longer have to drag out the laptop to do video captures. It also has the added benefit as a perfect controller for my wide-field mobile setup because of the upgraded WiFi capabilities. Since I have been using the ZWO ASIair product line, I have eliminated the need for a laptop, power supply, dew controller, and powered USB hub. This amateur astronomer will be upgrading to the ASIAIR-Plus.