
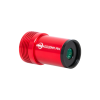
Choosing the Best Telescope Camera
If you're new to astrophotography, it can be challenging to pick the right camera with so many options available. Begin by thinking about your specific goals and what you hope to capture. This will help you pick the perfect camera.
Types of Cameras Dedicated to Astronomy
A dedicated astronomy camera is a special type of camera made specifically for astrophotography.
They are designed to attach to a telescope or camera lens and aren't ideal for daytime photography, but will excel over a DSLR or mirrorless camera for astrophotography.
To simplify the process, we've outlined the three main types of telescope cameras and their best uses:
- Deep sky astrophotography cameras for galaxies and nebulae.
- Planetary cameras for solar system objects like planets, the Moon, and the Sun.
- Guide cameras for autoguiding, a helpful accessory for deep sky astrophotography.
If you’re new to astrophotography, the terminology can be overwhelming. We’ve put together a list of key terms to help. See our glossary for details.
Want to know more? We’ve answered some frequently asked questions.
Deep Sky Astrophotography Cameras
Best for photographing nebulae, galaxies, and star clusters | $$-$$$

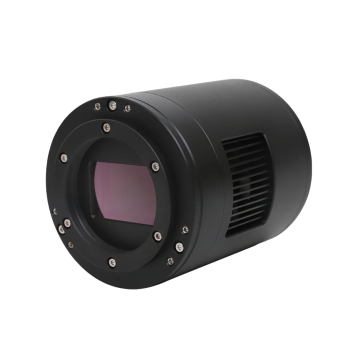
A deep sky camera is a specialized camera designed specifically for astrophotography. They can produce better images of space than standard DSLR or mirrorless cameras for two main reasons.
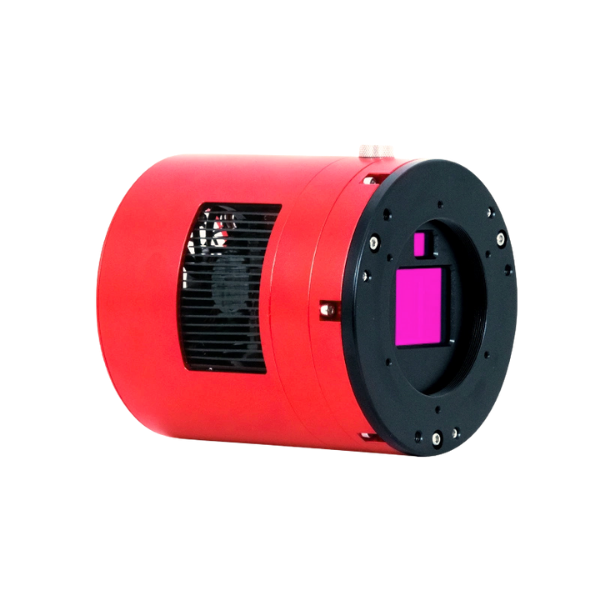
First, by featuring a built-in cooling fan that lowers the sensor's temperature, these cameras minimize unwanted noise during long exposures.
Secondly, they’re more sensitive to the types of light emitted by nebulae. These features result in significantly more detailed images of objects in space compared to DSLR or mirrorless cameras.
When choosing a deep sky camera, your first decision will be between One Shot Color (OSC) or Monochrome.
One-Shot-Color Deep Sky Cameras
Best for imagers with limited time or budget | $$-$$$
One-Shot Color (OSC) cameras, unlike monochrome cameras, produce a full-color image straight out of the camera. This makes them very easy to use and beginner-friendly.
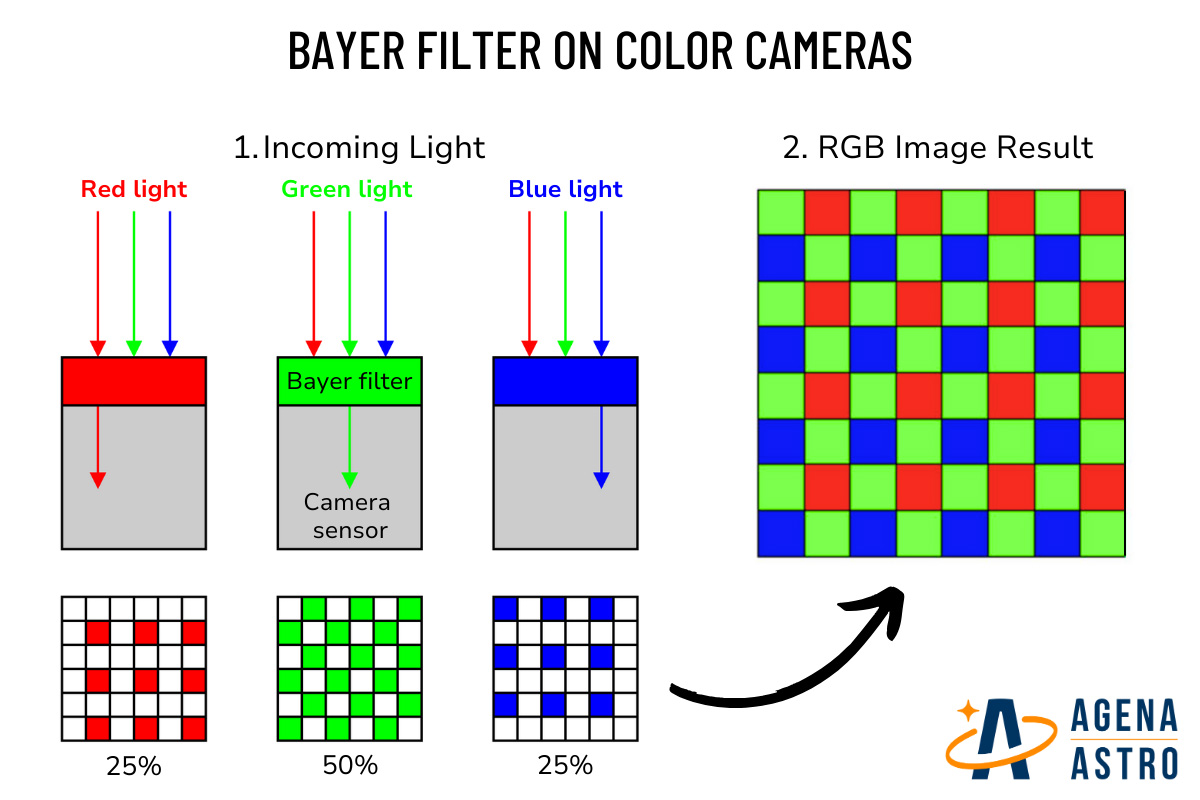
OSC cameras have a grid of small red, green, and blue filters on their sensors, known as a Bayer filter. Each pixel on the sensor has one of these color filters. When light hits the sensor, the pixels only record the light that matches its filter color.
For example, a pixel covered with a red filter will only record the intensity of red light, a green pixel only records green light, and a blue pixel only records blue light. The camera then combines this information to create a color image. Learn more about color cameras.
Pros: Easy to use. Since they capture RGB color information in a single exposure, you don’t need to switch between different color filters to create a final image. They’re a great choice for beginners and people living in regions prone to cloud cover or fewer nighttime hours. OSC cameras are generally less costly, as you don’t need to buy an expensive filter wheel and set of filters.
Cons: Lower sensitivity and slightly lower resolution than monochrome cameras. Limited narrowband flexibility. To achieve the same signal-to-noise ratio as monochrome cameras, OSC cameras often require longer exposure times.
Monochrome Deep Sky Cameras
Best for intermediate and serious imagers, and narrowband imaging | $$-$$$
Monochrome cameras don’t have a Bayer filter. This makes them more sensitive to light than OSC cameras. Color images are created by using different filters like Red, Green and Blue or Hydrogen Alpha, Sulfur II and Oxygen III.
Taking separate photos with each filter and then combining them on your computer creates a full-color image. Monochrome cameras can produce stunning images, but it’s important to consider the extra costs of filters and filter wheels before buying.
If you’re on a budget, a Monochrome camera might not be the best choice for you. Learn more about monochrome cameras.
Pros: Higher sensitivity due to no Bayer filter, which means shorter exposure times and a better signal-to-noise ratio. Better resolution. Can use a range of filters for greater flexibility and control over your images.
Cons: Requires filters to create a color image, increasing costs. More complex post-processing.
Planetary Cameras
Best for photographing solar system objects, planets, and the Moon | $-$$

Planetary cameras are used to capture high-resolution images of celestial bodies within our solar system, including planets, the Moon, and the Sun. Unlike traditional cameras, planetary cameras are explicitly designed to achieve extremely fast frame rates, often reaching up to 50 frames per second or even more.
This allows astrophotographers to freeze the motion caused by Earth’s atmosphere, resulting in sharper images. When selecting a planetary camera, astrophotographers prefer to use color sensors. These sensors are more convenient, as they eliminate frequent filter changes.
Pros: Easy to use. Higher frame rates. More affordable than deep-sky cameras. Smaller pixel size.
Cons: Not suitable for astrophotography. Smaller sensor sizes limit the field of view and can lead to over-sampling, especially if not paired with the appropriate telescope.
Guide Cameras
Best for autoguiding during long exposure astrophotography | $-$$

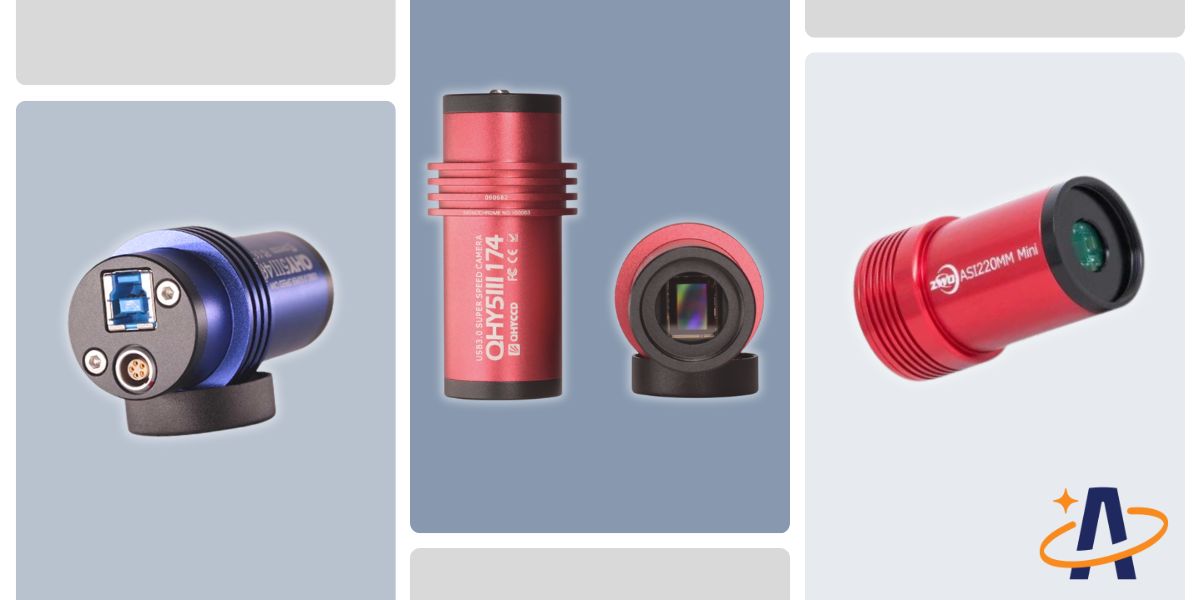
A guide camera is a specialized camera used alongside a tracking mount. It works by monitoring the position of a star (the guide star). When the star appears to move slightly due to the mount’s motion, it sends a corrective signal to the mount to move the star back to its original position. This process is known as autoguiding.
Autoguiding allows you to take long-exposure pictures without star trails or blurry objects. Learn more about autoguiding.
Pros: Improved tracking and longer exposure times with autoguiding. Inexpensive compared to other cameras. Lightweight. Some can be used for planetary imaging.
Cons: Limited resolution. Not suitable for deep sky astrophotography. Small sensor sizes.
Camera Bundles
Best for beginners and budget-conscious imagers | $$-$$$
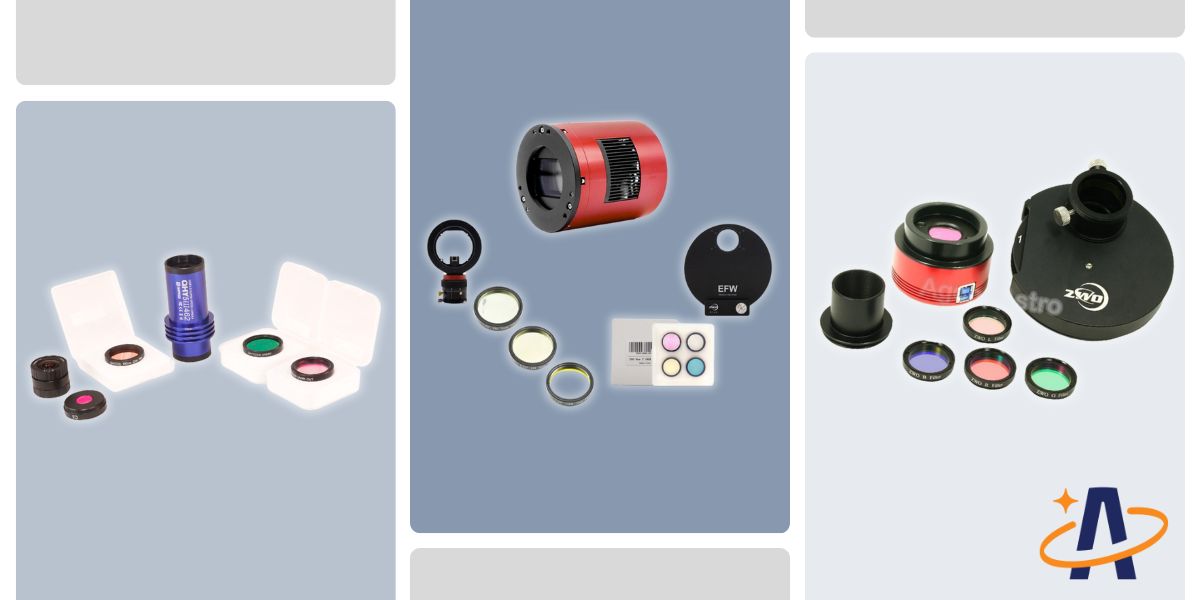
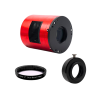
Camera bundles offer a convenient and cost-effective way to start astrophotography compared to purchasing each item separately. Agena Astro's range is designed to meet the diverse needs of astrophotographers, from beginners to advanced users.
Our bundles combine astrophotography cameras with essential accessories, such as filters and filter wheels.
Pros: Convenience of having a complete set of compatible gear delivered together.
Cons: Can’t mix and match products.
Need Help?
Our team is always on standby to help you choose the perfect astrophotography camera to meet your needs. If you have any questions, or can't find what you’re looking for, contact us.
Frequently Asked Questions
What is Deep Sky Astrophotography?
In astrophotography, deep sky refers to objects beyond our solar system, such as:
- galaxies
- nebulae
- star clusters
- supernova remnants.
These objects are typically very faint and require long exposure times and sensitive equipment to capture their details.
Can you do Astrophotography with a Normal DSLR or Mirrorless Camera?
Yes, but a dedicated astronomy camera will give drastically better images than a stock DSLR or mirrorless camera. DSLR and mirrorless cameras are more suitable for daytime photography.
Normal cameras aren’t as good at capturing faint light sources, because they have a Bayer matrix filter that covers each pixel, which blocks certain wavelengths of light often emitted from deep sky objects. This means they can’t capture as much detail in deep-sky objects like nebulae.
Many deep sky objects emit light at or beyond the range these cameras can capture. Dedicated astronomy cameras can capture these wavelengths of light, which is how they get much more colorful images of nebulae, especially hydrogen (red) nebulae - the most common type.
You can modify a DSLR or mirrorless camera to remove these filters. These modifications can be expensive, and you may need to use a special white balance or filter to continue to use your camera for daytime photography. We recommend saving that money and putting it towards a camera dedicated to astronomy.
Additionally, they don’t have built-in cooling fans, so they tend to produce noisier images during long exposures. All cameras designed for deep sky imaging have a cooling fan to keep the sensor cool. During long exposures, camera sensors heat up, which introduces noise (similar to grain) to the image.
DSLR and mirrorless cameras are primarily designed for daytime photography, where exposures can be short.
In deep sky astrophotography, exposures can be as long as 5 to 10 minutes. DSLR and mirrorless cameras are no match for a dedicated astronomy camera in terms of keeping noise low and your final image clean.
Which Astrophotography Camera is Better, Color or Monochrome?
As with most answers in astrophotography: it depends! From a technical standpoint, monochrome cameras are better because they can gather more light. For practical reasons, the answer is more complicated.
Technically, all cameras are monochrome. Color cameras have tiny, permanent color filters over each pixel in a pattern called the Bayer matrix. This matrix repeats every four pixels with one red, two green, and one blue filter. Color cameras capture 25% red, 25% blue, and 50% green light, which cannot be altered.
The Bayer matrix is excellent for mimicking human vision during the day, but space has very little green light. Therefore, color cameras waste half of the incoming light because the green-filtered pixels do not record it.
Monochrome cameras lack a Bayer matrix, so each pixel records any light that hits it. Astrophotographers use their own filters to maximize light-gathering efficiency. Instead of being limited to 25% red, 25% blue, and 50% green, you could capture 40% red, 40% blue, and just 20% green, for example.


- Price: Monochrome cameras cost more than color cameras. Not only do you need to buy the camera, but you also need to buy filters (which can equal or surpass the cost of the camera for a full set) and a filter wheel that electronically rotates your filters. Color cameras typically cost less. While you still need filters, you often only need 1 or 2 filters to help reduce light pollution or enhance nebulae, instead of the 3 to 7 filters needed for monochrome cameras.
- Ease of Use: Monochrome cameras can be harder to use than color cameras. First, the added equipment (extra filters and a filter wheel) takes longer to install. Second, monochrome cameras produce black and white images from each filter that need to be combined in software during processing later on. You won't see a color image from a monochrome camera until you're back home sitting at your computer. Color cameras, on the other hand, produce color images instantly. For these reasons, beginners should start with a color camera, unless they're willing to dive into the deep end of astrophotography.
- Image Quality: Monochrome cameras are undoubtedly the winner in terms of image quality. Not only do they gather more useful light and therefore more detail than color cameras, but the final image will also be sharper. This is because each pixel on a monochrome camera can record useful light. When imaging the night sky with color cameras, the Bayer matrix means color cameras won't record much green. As a result, software has to interpolate or guess what color the green is supposed to be, resulting in a less sharp image from color cameras.
In summary, color cameras are best for beginners, those on a lower budget, and those who want a simpler post-processing workflow. Monochrome cameras are ideal for those looking to get the absolute best image quality and have the budget to afford it.
Can you use a Planetary Camera for Deep Sky Astrophotography?
While it’s possible to use a planetary camera for deep-sky imaging, you might not achieve the same level of detail and quality you would with a camera specifically designed for deep-sky astrophotography. If you’re primarily interested in deep-sky objects, investing in a dedicated deep-sky camera would be a better option.
What is Over & Under Sampling?
Oversampling is when the image scale per pixel is too high, and the light from stars is spread over too many pixels. This can result in images that appear soft with bloated stars. This is because the camera’s pixels are too small for the telescope’s focal length.
On the other hand, undersampling happens when the image scale per pixel is too low. This is because the camera’s pixels are too big for the telescope’s focal length. It results in blocky, pixelized stars because there aren’t enough pixels to accurately capture their round shape.
Don’t worry, some degree of over or under-sampling is fixable in post-processing. There are online calculators available to help you check if your telescope and camera will make a good match!
What is Read Noise?
It is caused by a camera's electronics. It happens when the camera turns what it sees into a picture. A read noise of 1.0e means the camera’s sensor adds an average of one electron’s worth of noise to each pixel.
This is a very low level of read noise and excellent for astrophotography, because images are sharper, with more detail and clarity.
Read noise occurs independently of the incoming signal, and can occur in images taken even with the dust cover on.
What is Quantum Efficiency (QE)?
Quantum Efficiency (QE) in astrophotography refers to the sensitivity of a camera sensor. Specifically, how efficiently it can convert incoming photons (light) into electrons, which are then recorded as an image.
It’s a key factor in determining how much detail and light a camera can capture. The higher the QE percentage, the better it is for astrophotography! QE doesn’t matter as much for planetary imaging.
What is Amp Glow?
Amp Glow, also known as 'amplifier glow,' is a type of noise that can appear as a brightening effect in the corners or edges of an image, especially during long exposures common in deep-sky astrophotography.
To manage Amp Glow, you can take dark frames - images captured with the lens cap on, which can then be subtracted from your light frames during post-processing.
What is Full Well Capacity?
The full well capacity of a sensor determines how much light it can handle, before becoming purely white and unable to record more detail. Imagine each pixel as a small bucket collecting raindrops (photons). When a pixel reaches its full well capacity, it becomes saturated (fully white and blown out), which can make your stars appear bloated.
A higher full well capacity means you can expose for longer before losing detail. Higher full well capacity cameras will have a greater dynamic range (able to capture a wider range of light and dark tones). This results in more detail in astrophotography images.
How do you Attach a Camera to a Telescope?
Deep sky cameras connect to telescopes using threaded attachments, with standard thread sizes being M42, M48, M54, and M68.
Your telescope’s manual will specify the thread size it uses. These cameras come with various adapters for attachment, and their manuals include diagrams to guide you through the setup.
If you're attaching a planetary camera, those simply slide into a 1.25" eyepiece barrel found on most telescopes. If you're attaching a DSLR or mirrorless camera, you'll need an adapter called a t-ring.
Make sure you get the right t-ring for your specific type of camera.
Glossary of Astrophotography Camera Specifications
Astrophotography lingo can be confusing, especially if you don't have a background in cameras or photography. To help, we've included a list of common terms you'll encounter when shopping for an astrophotography camera.
Sensor
A camera sensor is an essential part of a digital camera. It is a solid-state device that captures light via millions of light-sensitive pixels and transforms it into electrical signals. The camera processes these signals to create a digital image.
Astrophotography camera’s use sensors that have been designed by popular digital camera company’s such as Sony. Different astrophotography cameras use different sensors. This specification refers to the make and model of the sensor inside the camera.
Sensor Size
The sensor size is the physical dimensions (in millimeters) of the sensor’s effective image area. The larger a sensor is, the wider the field of view (FOV) it has. A smaller sensor will have a narrower FOV. This figure is sometimes expressed as full frame (approximately 36x24mm), APS-C/crop sensor (approximately 24x16mm), or Micro 4/3 (approximately 18x12mm).
Sensor Diagonal
The sensor diagonal is the physical measurement of how many millimeters are between the opposite corners of a sensor. When choosing a camera for deep sky astrophotography, it is important to know what the image circle is of your telescope or additional optics like a reducer/flattener. Make sure the sensor diagonal is smaller than your image circle. If you don’t, it can cause elongated stars towards the corners of the image and vignetting.
Resolution
Image resolution is the size of the resulting images produced from the camera, usually measured in megapixels (millions of pixels), e.g. 16 megapixels. It is also sometimes measured in width x height of the total pixels, e.g. 4944 x 3284.
Pixel Size
Pixel size is the physical size of the pixels, measured in microns (µ). For deep sky astrophotography, larger pixels (like 3µ or higher) are usually better as they gather more light. For planetary imaging, a smaller pixel size is usually better, but it can depend on the telescope you use.
Back Focus Distance
The back focus distance specification on a camera is the distance (in millimeters) from the sensor to the threads where the camera attaches to the imaging train. When using corrective optics like a reducer, field flattener, or coma corrector, it’s crucial to maintain proper back focus spacing to keep the focal plane flat and ensure round stars in your images.
First, find out the distance of back focus that your corrective optics require (e.g. 55mm), and then subtract the camera’s back focus distance (e.g. 17.5mm) to figure out how much spacing you need (e.g. 37.5mm). Then, use the diagrams and adapters included with your camera to meet your desired back focus distance.
Capture Speed (frames per second)
An important specification for planetary imaging, capture speed is how many frames per second a camera can capture. For deep sky astrophotography, this specification is not important, as exposures are usually many seconds or minutes long. For short exposure planetary imaging, the higher the number, the better.
Bit Depth
Sensor illumination differentiates whether a sensor is front-side or back-side illuminated. Generally speaking, back-side illuminated (BSI) sensors are better, as they have higher quantum efficiency.
Sensor Illumination
Bit Depth is the range of luminance values that each pixel can record. A camera with a higher bit depth per pixel, like 14-bit, will produce smoother gradations between areas of varying brightness in an image. A lower bit depth camera, like 10-bit, may suffer from banding, or noticeable lines on parts of the image with gradients. The higher the bit depth, the better.
Cooling Temperature
Cooling temperature is how much cooler (measured in degrees Celcius ( ºC)) the camera can get than ambient air temperature when running the cooling fan to keep the sensor cool. The lower the temperature below ambient, the better, as it reduces noise.
Shutter Type
Shutter type usually indicates whether a camera has a rolling shutter, where the image is read out one line of pixels at a time, or a global shutter, where the image is read out all at once. For all deep sky imaging purposes, a global shutter is not needed. A global shutter can be desirable for planetary or solar system imaging.
Color Filter Pattern (Bayer Matrix)
In color sensor cameras, the color filter pattern is the order in which red, green, and blue pixels repeat to produce a color image. Nearly all DSLR, mirrorless, and color astronomy cameras use the Bayer Filter, which repeats in a Red, Green, Green, Blue (RGGB) pixel pattern.